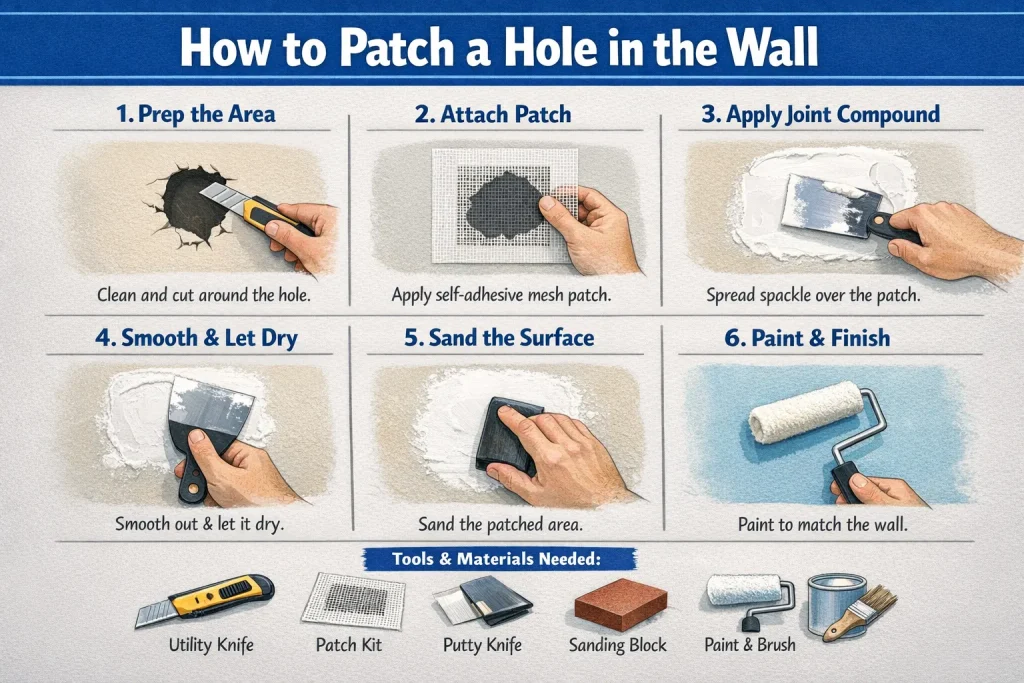
How to Patch a Hole in the Wall (Step-by-Step Guide)
So you’ve got a hole in your wall. Maybe you moved a picture frame and discovered an ugly gap, or perhaps a doorknob got a little too friendly with the drywall. Whatever the reason, you’re probably wondering if you need to call a professional or if this is something you can tackle yourself.
Good news: patching a hole in the wall is one of those DIY projects that looks way harder than it actually is. I’m going to walk you through the entire process, and trust me-
if I can do it, you definitely can too.
What You’ll Need Before You Start
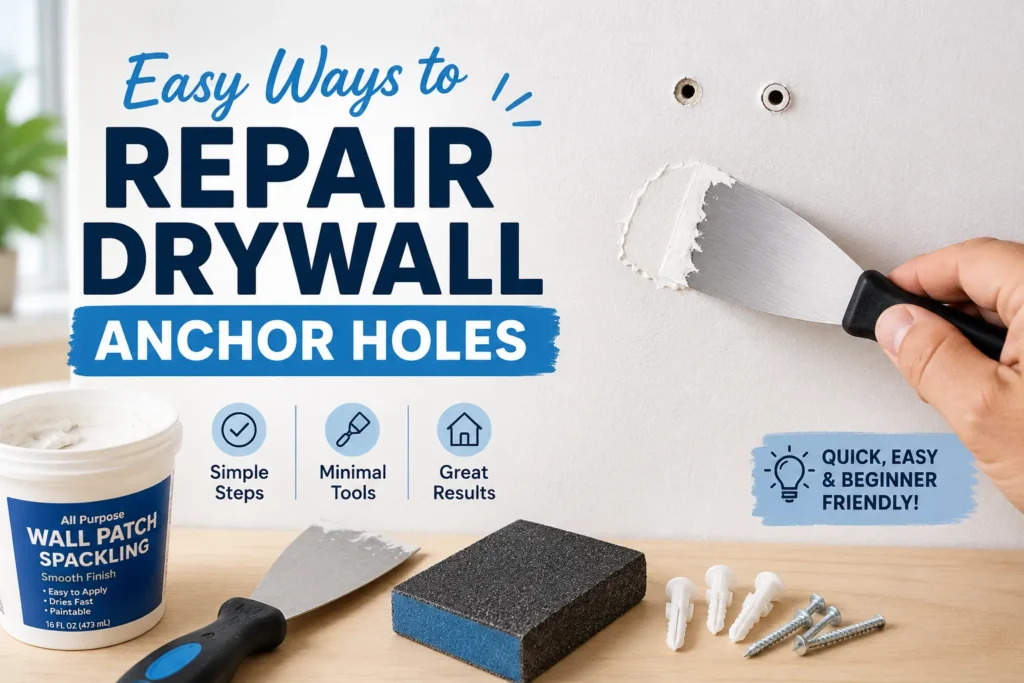
Before we dive into the actual repair work, let’s gather your supplies. There’s nothing worse than getting halfway through a project and realizing you’re missing something crucial.
For small holes (smaller than a quarter):
- Spackling paste or lightweight joint compound
- Putty knife (a 3-inch one works great)
- Fine-grit sandpaper (120 or 150 grit)
- Primer and paint that matches your wall
- A damp cloth or sponge
For larger holes (bigger than a quarter):
- Drywall patch kit or mesh patch
- Joint compound (also called “mud” by the pros)
- Putty knife or drywall knife
- Sandpaper
- Primer and matching paint
- Optional: utility knife for cleaning edges
Most hardware stores sell convenient patch kits that include everything you need for medium-sized holes. They’re usually under $10 and can save you a trip back to the store.
Understanding Your Hole: Size Matters
Not all wall damage is created equal. A tiny nail hole needs a completely different approach than a fist-sized crater. Here’s the breakdown:
Tiny holes (nail holes, small screws): These are the easiest. You’re looking at about 5 minutes of actual work.
Medium holes (quarter to baseball-sized): Still manageable for beginners. Expect to spend 30-45 minutes, plus drying time.
Large holes (bigger than a baseball): Doable, but requires a bit more patience and possibly backing material.
Step-by-Step: How to Fix Small Holes
Let’s start with the easy stuff. Small holes are incredibly forgiving, which makes them perfect practice.
Step 1: Clean the Area
Wipe away any dust, debris, or loose bits around the hole. You want a clean surface for the spackling to grip onto.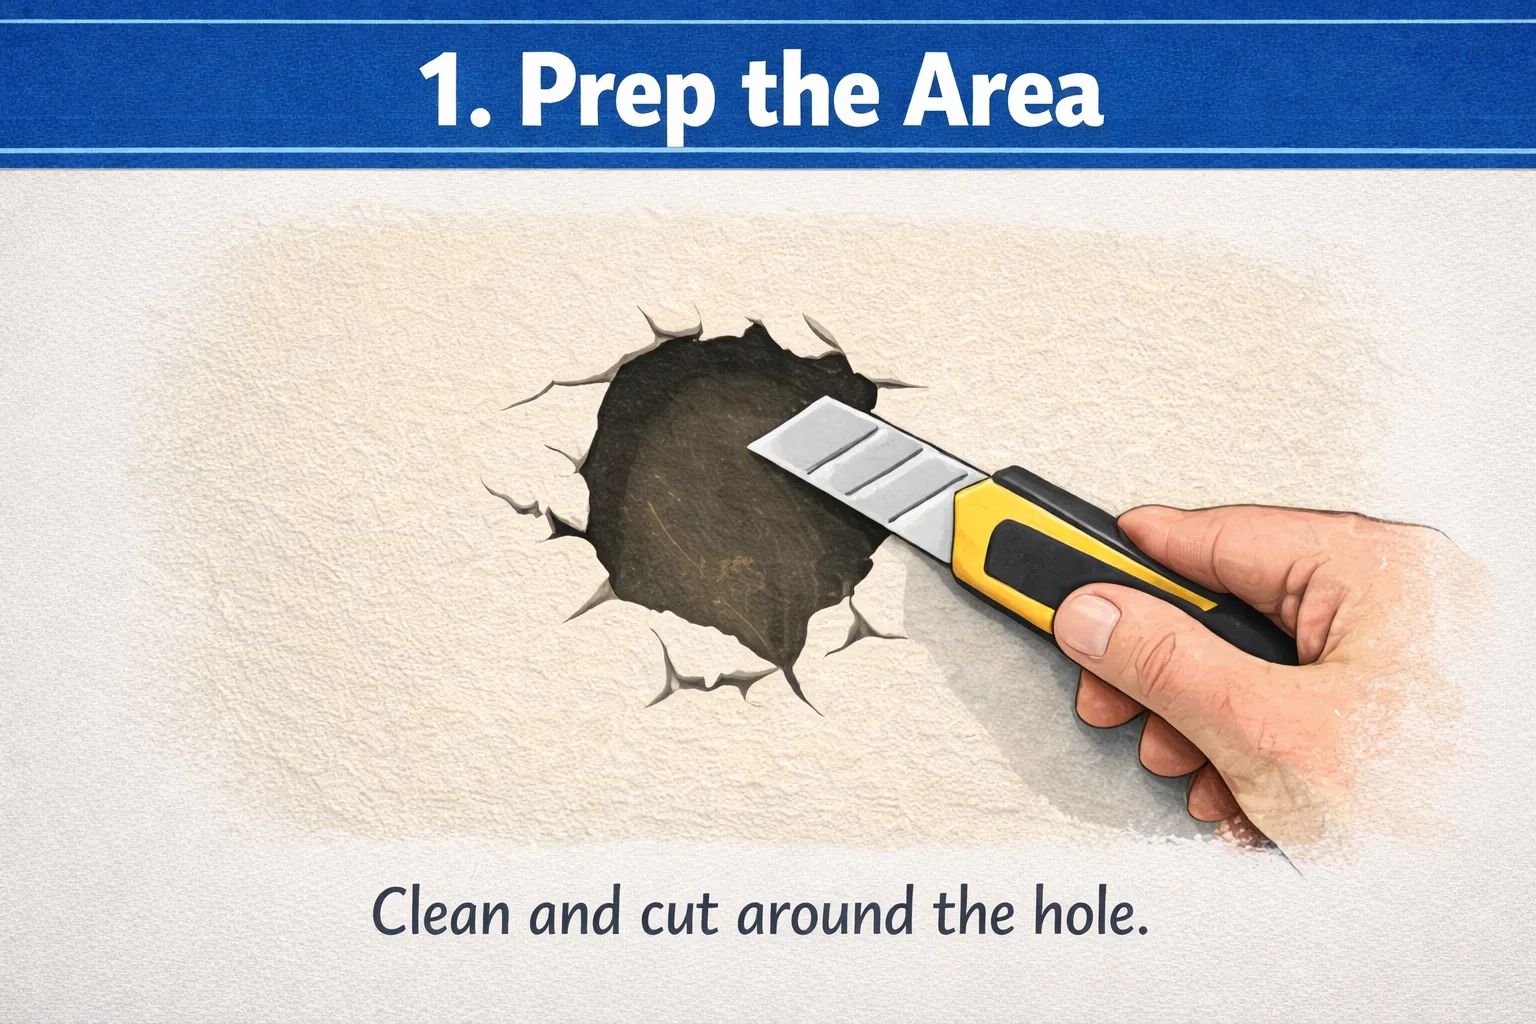
Step 2: Apply Spackling Paste
Scoop a small amount of spackling compound with your putty knife. Press it firmly into the hole, smoothing it flush with the wall surface. Think of it like spreading peanut butter-you want it level, not lumpy.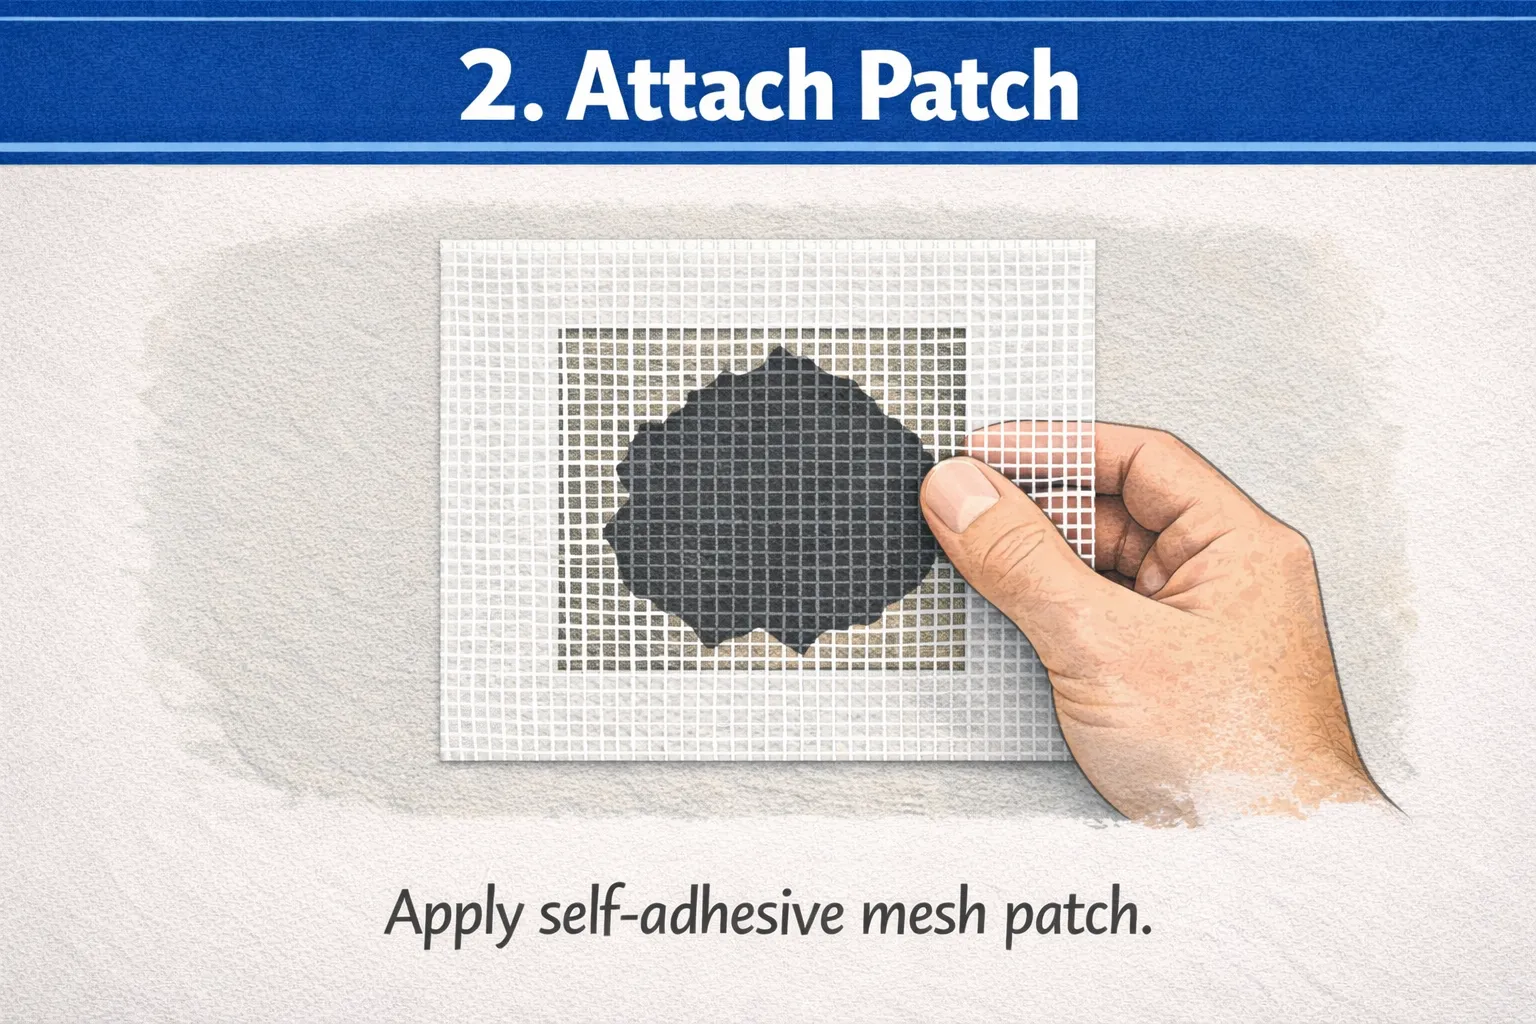
Step 3: Let It Dry
This is where patience comes in. Most spackling compounds need 1-2 hours to dry completely. Some shrink as they dry, so you might need a second thin coat.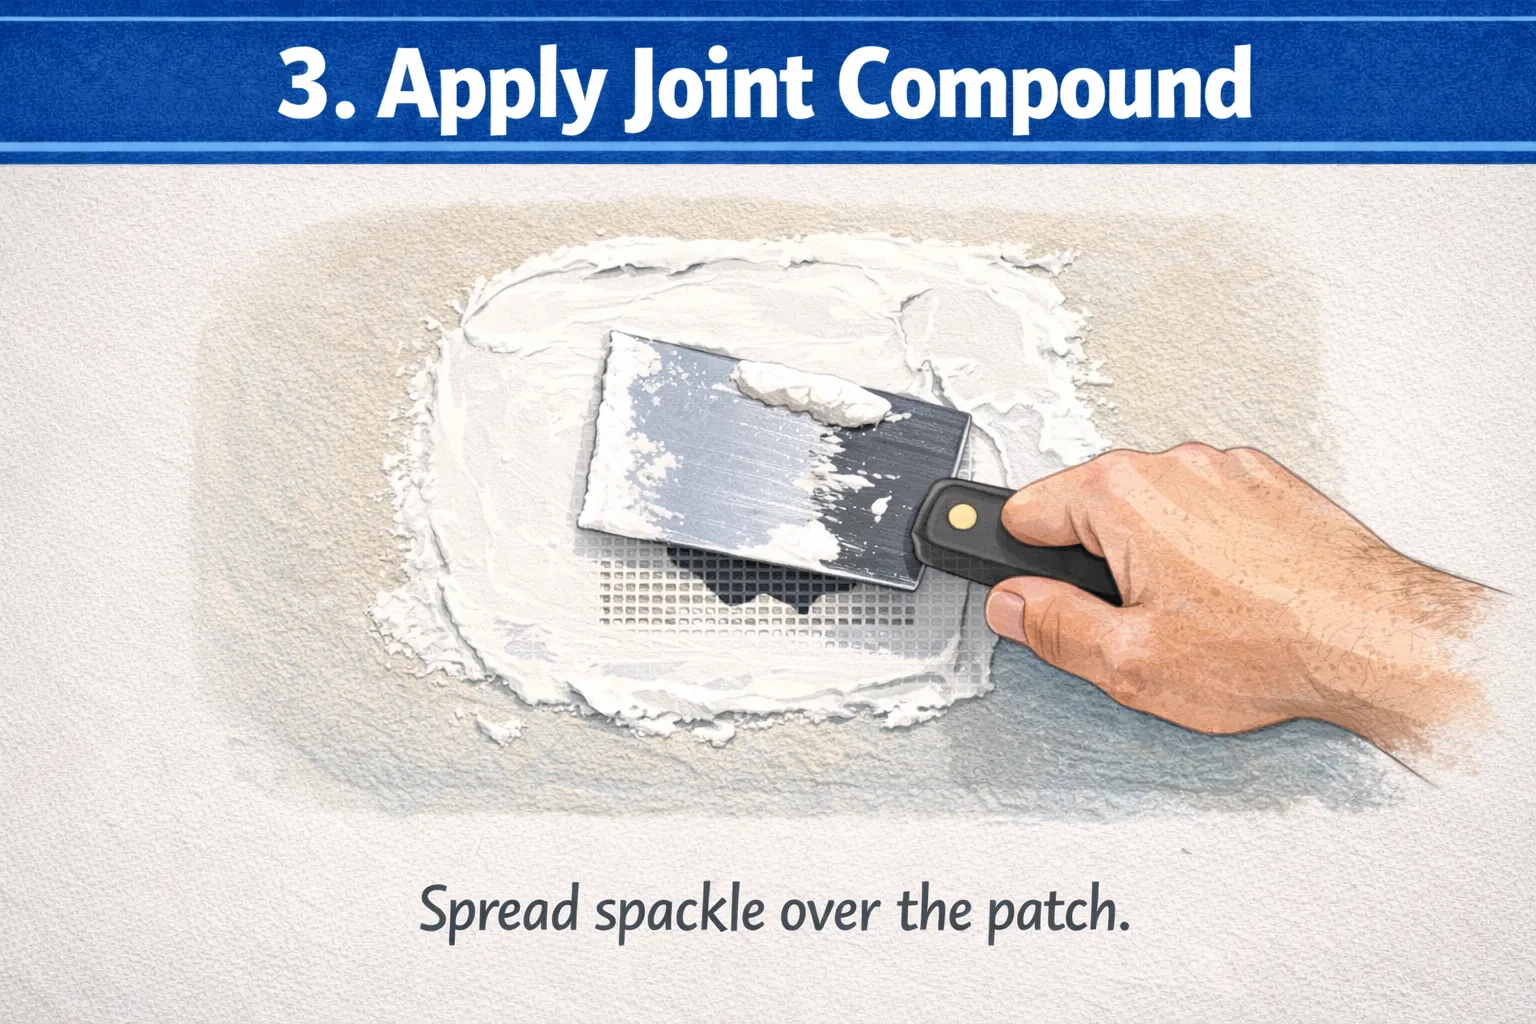
Step 4: Sand It Smooth
Once dry, lightly sand the patched area with fine-grit sandpaper. You’re aiming for a surface that’s completely flush with the surrounding wall. Run your hand over it-if you can feel a bump or ridge, sand a bit more.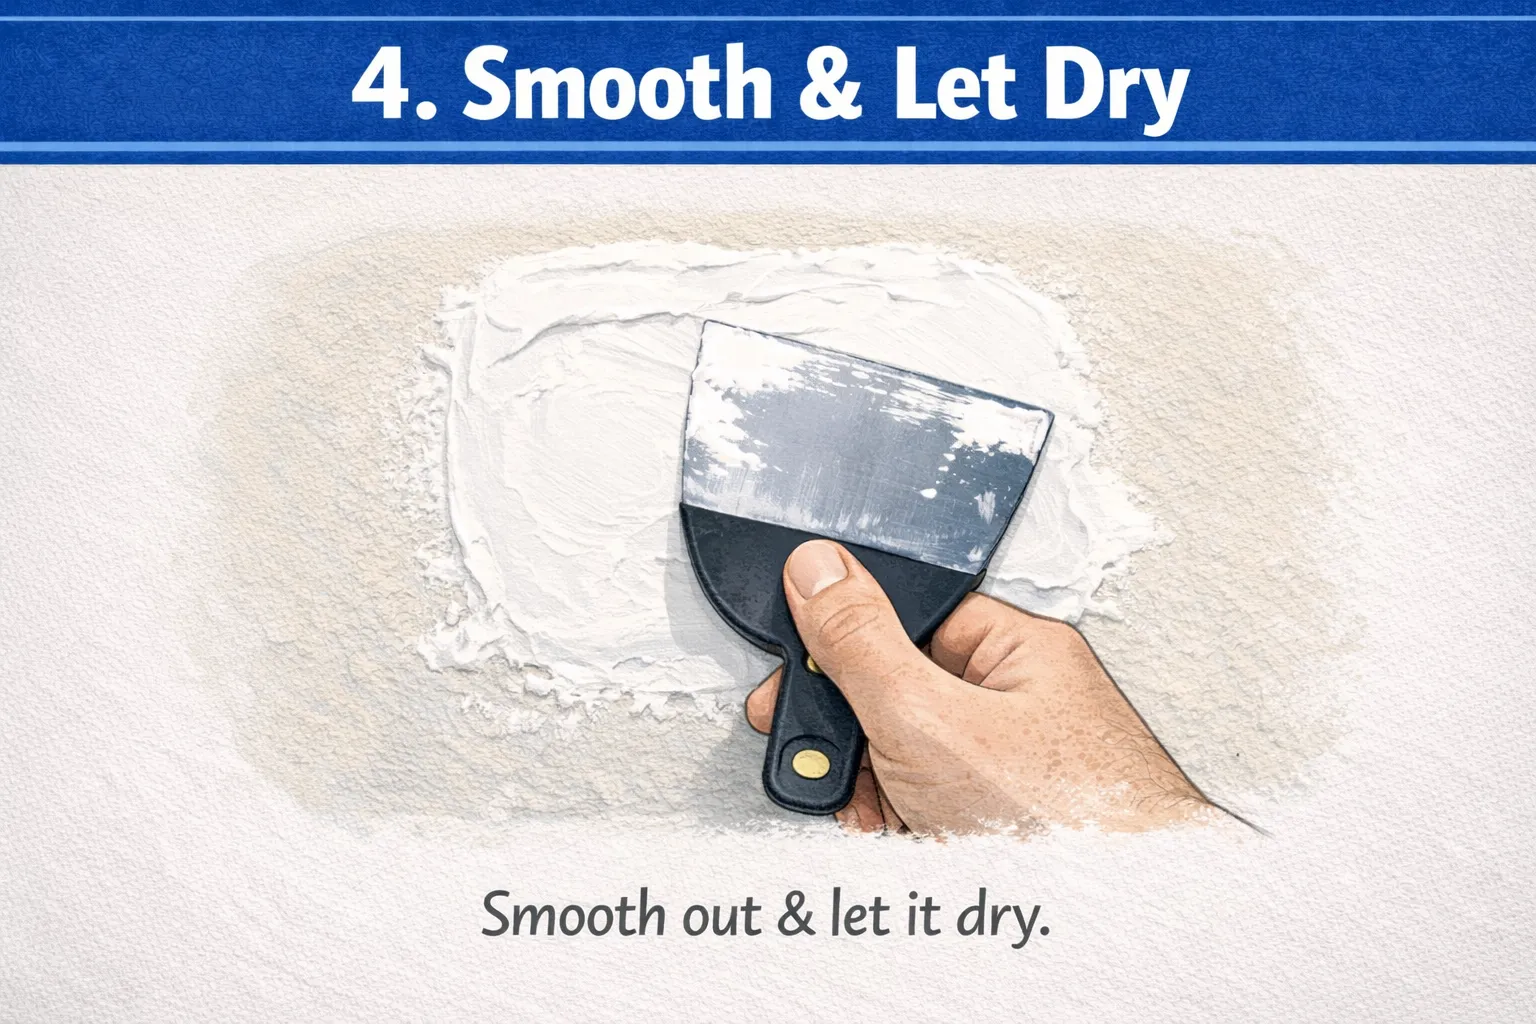
Step 5: Prime and Paint
Apply a coat of primer, let it dry, then paint to match your wall. Pro tip: if you don’t have the exact paint color, bring a small chip of your wall paint to the hardware store. They can usually match it perfectly.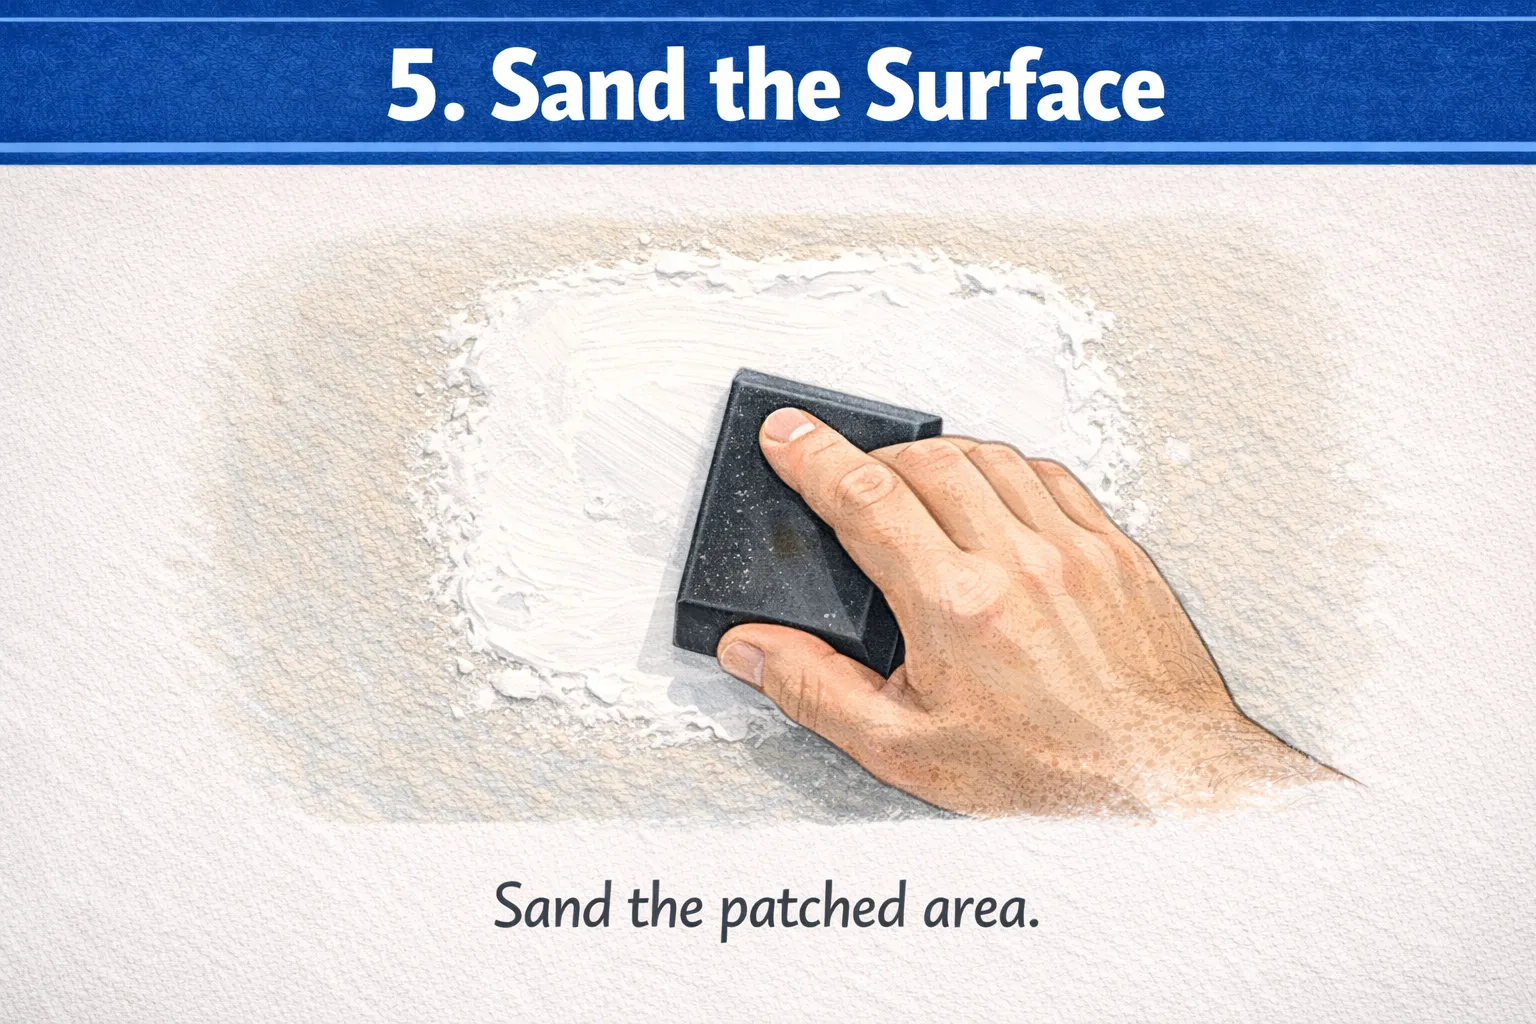
Fixing Medium to Large Holes (The Real Deal)
Okay, now we’re getting into slightly more serious wall repair territory. Don’t worry though-you’ve got this.
Step 1: Prepare the Damaged Area
Use your utility knife to clean up any ragged edges around the hole. You want smooth, solid edges for your patch to adhere to.
Step 2: Apply the Mesh Patch
If you’re using a self-adhesive mesh patch, just peel off the backing and stick it over the hole. Make sure it’s centered and pressed down firmly. These patches are amazing because they provide support without requiring any backing board.
For larger holes, you might need to cut a piece of drywall as backing. Insert it behind the hole, secure it with drywall screws, then cover with mesh.
Step 3: Apply Joint Compound
Here’s where the magic happens. Using your putty knife, spread a thin layer of joint compound over the mesh patch. The key word here is thin. Too much compound means longer drying time and more sanding later.
Extend the compound a few inches beyond the patch in all directions, feathering the edges so they blend into the existing wall.
Step 4: The Waiting Game
Let the first coat dry completely-usually 24 hours. I know, it feels like forever, but rushing this step will mess up your final result.
Step 5: Second (and Maybe Third) Coat
Apply another thin coat of joint compound, making it slightly wider than the first. This helps create a seamless blend. For larger repairs, you might need three coats total.
Step 6: Sand Like a Pro
Once everything’s bone dry, sand the entire patched area smooth. Start with medium-grit sandpaper and finish with fine-grit. Wear a dust mask because this creates quite a bit of powder.
Step 7: Finish Strong
Prime the patched area, then paint. You might need two coats of paint to get the color just right.
Common Mistakes to Avoid
Let me save you some frustration by pointing out the mistakes I see people make all the time:
Rushing the drying process. Seriously, let each coat dry completely. Your patience will pay off.
Applying too much compound at once. Multiple thin coats always beat one thick coat.
Skipping the primer. Primer helps your paint color match and stick better. Don’t skip it.
Not sanding enough. If you can see or feel ridges, you’re not done sanding yet.
Forgetting to test paint color first. That paint you think matches? Test it on a hidden spot first. Wall paint can look different as it ages.
Quick Tips for a Professional-Looking Finish
- Work in good lighting so you can spot imperfections
- Keep a damp sponge handy to clean your tools between coats
- Texture matters-if your walls have texture, you’ll need to match it before painting
- Room temperature affects drying time; warmer rooms dry faster
Frequently Asked Questions
How long does a wall patch take to complete? Small holes can be done in a few hours total. Larger repairs typically take 2-3 days because of drying time between coats, but your actual working time is only about an hour.
Can I use toothpaste to fill small holes? I’ve heard this hack, but honestly? Just use spackling. It’s designed for the job, dries properly, and won’t yellow over time like toothpaste can.
What if my patch keeps cracking? This usually means the area wasn’t fully dry before you applied the next coat, or you applied too much compound at once. Sand it down and start with thinner layers.
Do I really need primer? Yes, especially for larger patches. Primer seals the compound and helps your paint color match perfectly. It’s worth the extra step.
Wrapping Up
There you have it-everything you need to know about patching holes in your walls like a total pro. The process might seem a bit involved at first, but once you’ve done it a couple of times, you’ll wonder why you ever stressed about it.
The key takeaways? Take your time, don’t rush the drying process, and remember that thin coats are your friend. With these basics down, you can tackle just about any drywall hole that comes your way.
Now grab those supplies and get patching. Your walls will thank you!


)