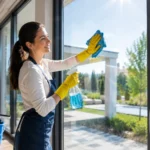
Clean walls make your entire home look better. Dirty walls collect dust, fingerprints, and stains over time. Learning the right cleaning method protects your paint and keeps walls looking fresh.
This guide covers everything you need to know about wall cleaning. Follow these steps for spotless results without damage.
Why Clean Your Walls?
Walls get dirtier than most people realize. They collect airborne dust, cooking grease, and everyday grime.
Regular wall cleaning provides several benefits:
- Removes allergens and dust
- Prevents permanent staining
- Maintains paint quality
- Keeps your home looking fresh
- Prepares walls for repainting
Before You Start: What to Know
Different wall types need different cleaning approaches. Using the wrong method can damage your paint or wallpaper.
Check Your Paint Type: Most modern homes have washable paint. Flat or matte finishes are more delicate. Glossy and semi-gloss paints handle scrubbing better.
Test First: Always test your cleaning solution in a hidden spot. Wait 10 minutes to check for damage. The area behind furniture works well for testing.
Gather Supplies: Having everything ready makes the job easier. You won’t need expensive products.
What You’ll Need
Keep your supply list simple. Basic items work best for most wall cleaning.
Essential supplies:
- Two buckets (one for cleaning, one for rinsing)
- Microfiber cloths or soft sponges
- Mild dish soap
- Warm water
- Dry towels
- Step ladder
- Vacuum with brush attachment
Optional items:
- Baking soda (for tough stains)
- White vinegar
- Magic eraser sponges
- Old toothbrush (for detail work)
Step-by-Step Cleaning Process
Follow this method for the best results with minimal effort.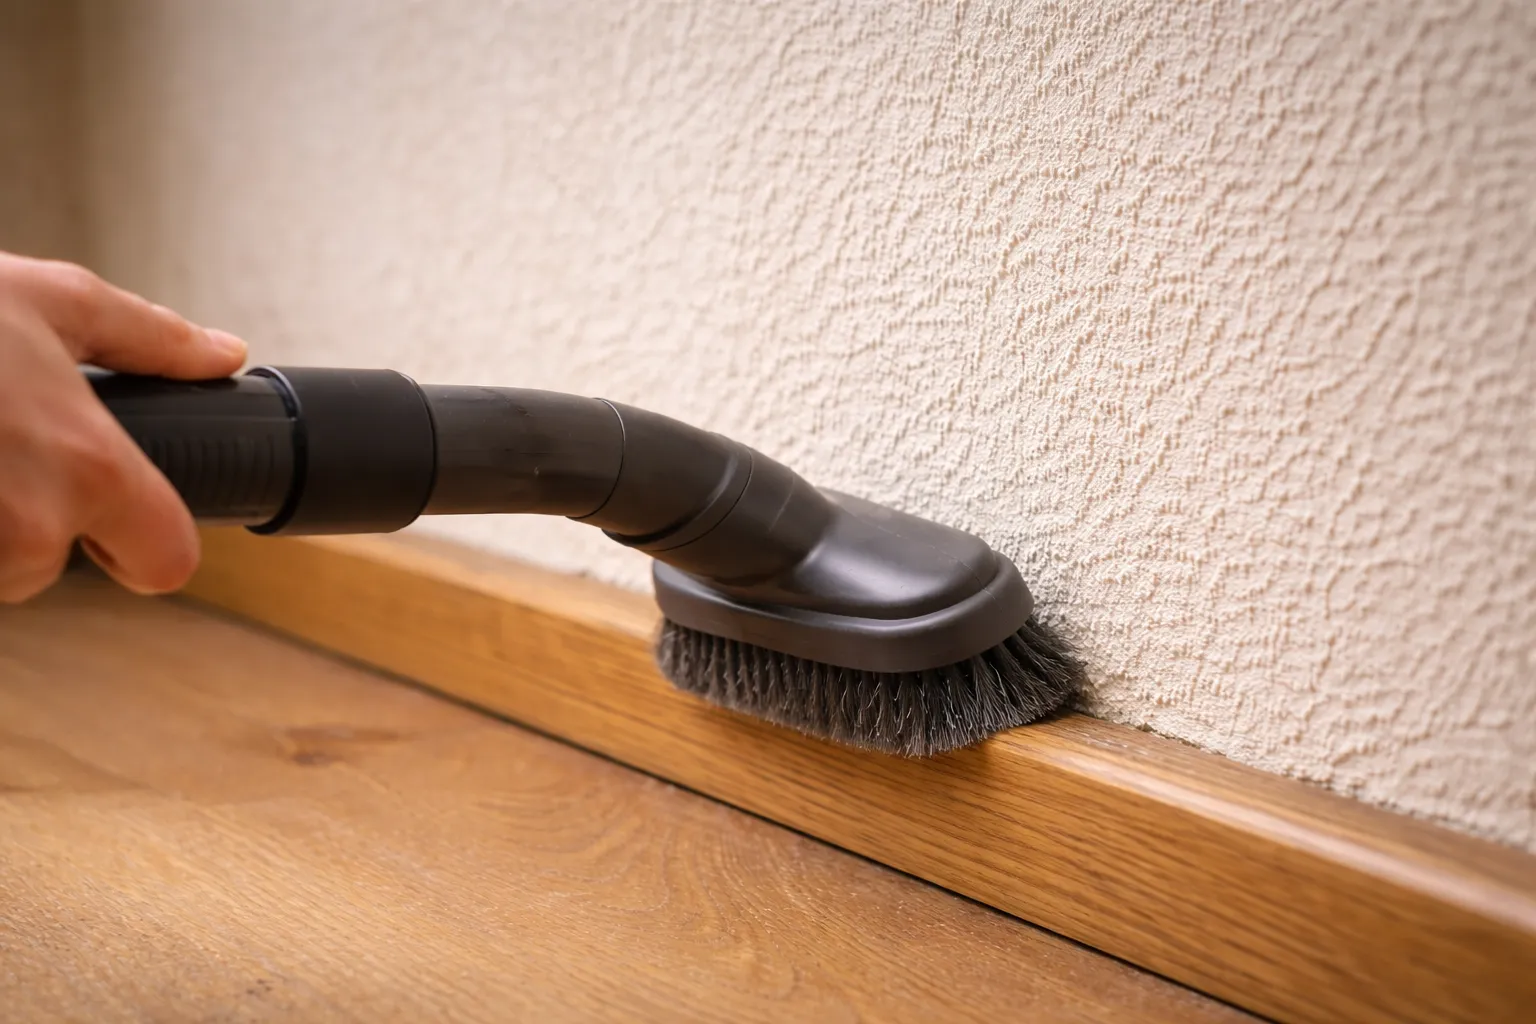
Step 1: Remove Dust First
Start by removing loose dust and cobwebs. This prevents making mud when you wash.
Use a vacuum with a soft brush attachment. Run it over the entire wall from top to bottom. Pay attention to corners and baseboards.
A microfiber duster on an extension pole also works well. Don’t skip this step.
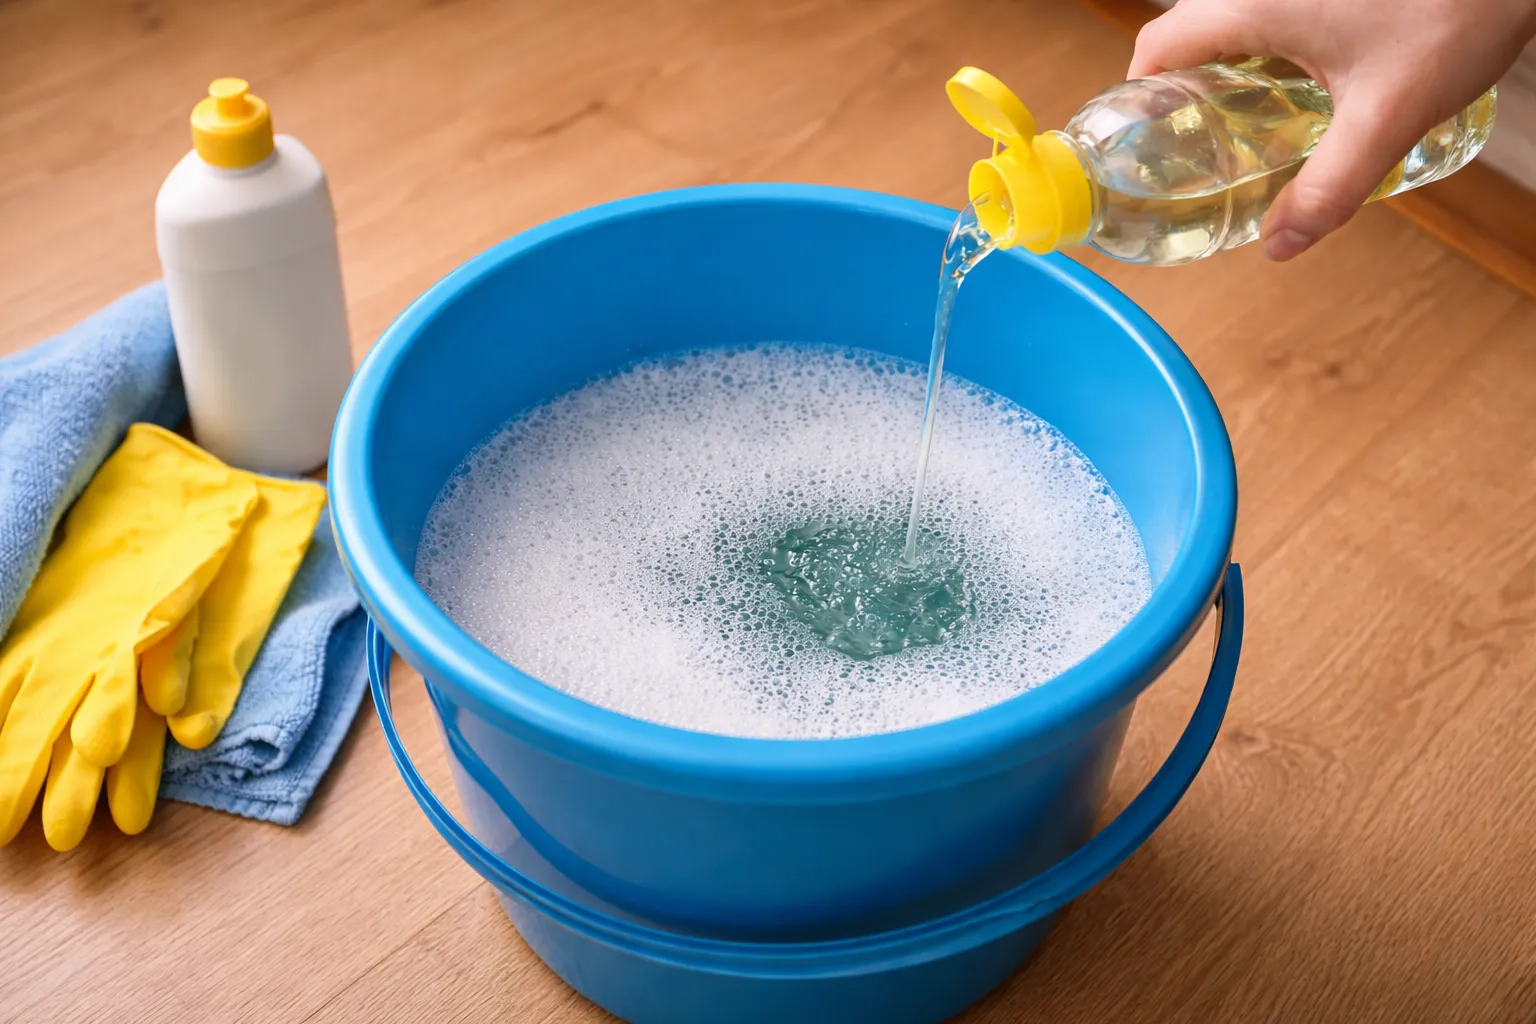 Step 2: Prepare Your Cleaning Solution
Mix your cleaning solution in a bucket. Keep it simple.
Basic Formula: Add one teaspoon of mild dish soap to one gallon of warm water. That’s all you need for most jobs.
Avoid harsh chemicals. They can strip paint or leave residue.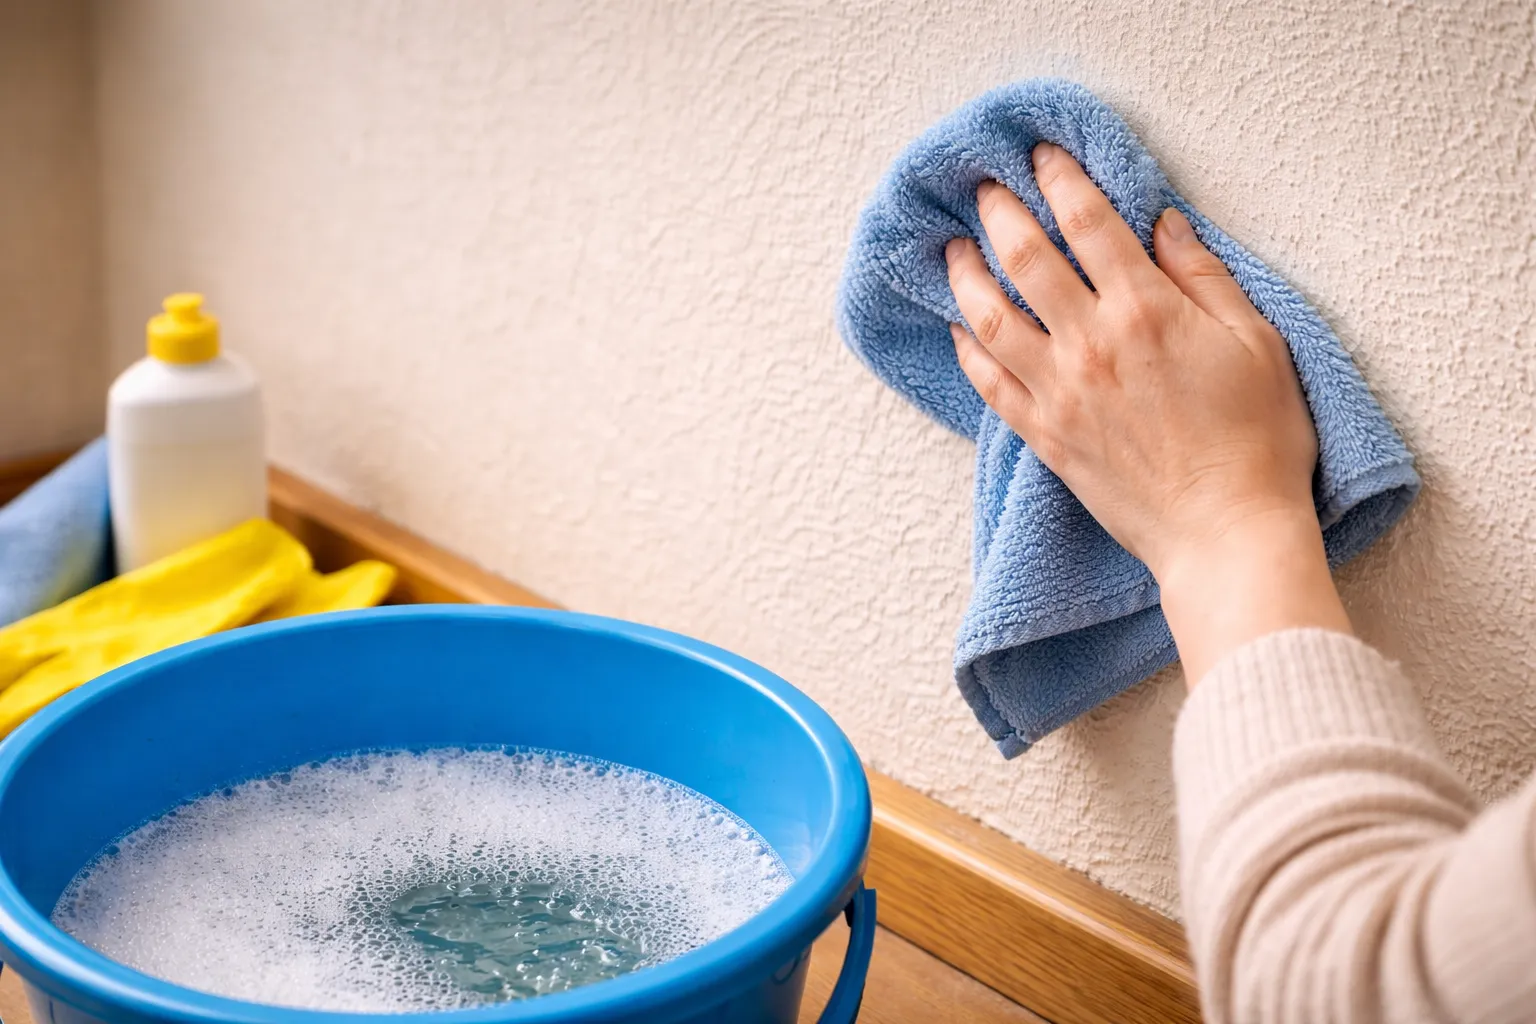
Step 3: Work From Top to Bottom
Always clean walls from the ceiling down. This prevents dirty water from running over clean areas.
Dip your sponge or cloth in the solution. Wring it out well. The cloth should be damp, not dripping wet.
Wipe the wall in gentle circular motions. Work in small sections about 3 feet wide.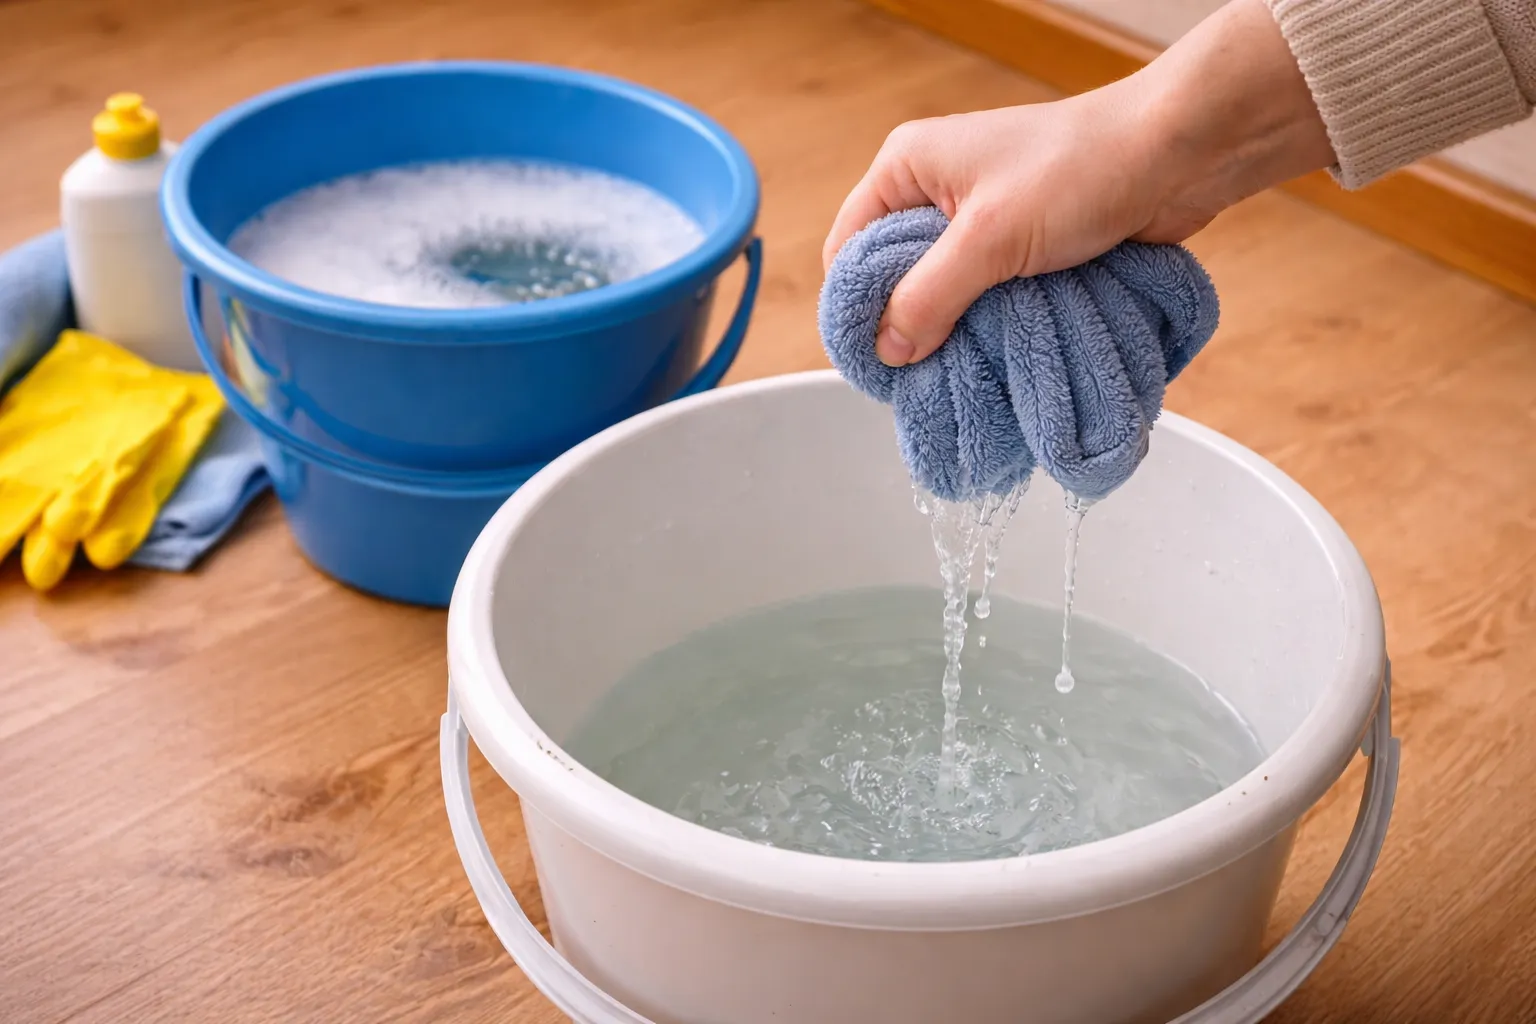
Step 4: Rinse Each Section
Use your second bucket filled with clean water. Rinse your cloth and wipe the same section again.
This removes soap residue. Soap left on walls can attract more dirt.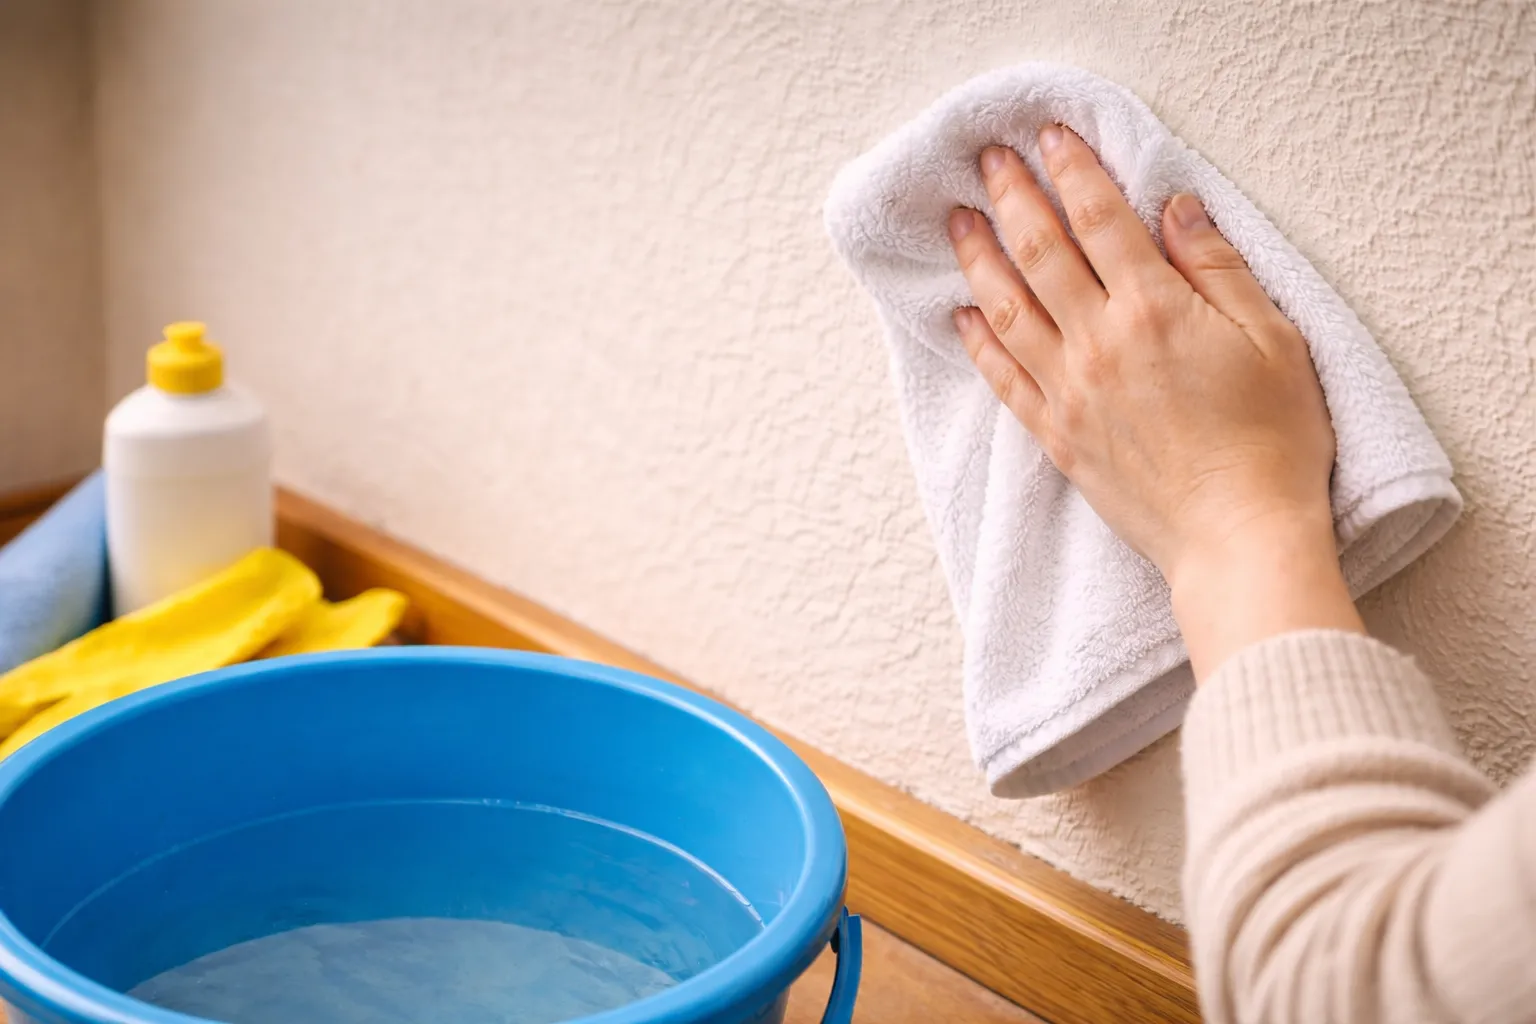
Step 5: Dry the Wall
Don’t let walls air dry. Use a clean, dry towel to wipe each section.
This prevents water spots and drip marks. It also helps you see any spots you missed.
How to Handle Different Wall Types
Painted Walls
Most painted walls can handle gentle washing. Use the basic method described above.
For flat paint, be extra gentle. Use less water and don’t scrub hard. Rubbing can remove paint or create shiny spots.
Wallpapered Walls
Wallpaper requires special care. Too much water can loosen the adhesive.
Use a barely damp cloth. Don’t soak the wallpaper. Work quickly and dry immediately.
Some wallpapers aren’t washable at all. Check the manufacturer’s instructions first.
Textured Walls
Textured surfaces trap more dirt in their grooves. They need extra attention.
Use a soft brush or sponge to work into the texture. An old toothbrush helps with deep grooves.
Be patient. Textured walls take longer to clean properly.
Removing Common Stains
Some marks need special treatment beyond basic cleaning.
Scuff Marks
Try a magic eraser sponge first. Dampen it and rub gently. These work well on shoe scuffs and black marks.
If that doesn’t work, make a paste with baking soda and water. Apply it with a soft cloth and rub gently.
Grease Stains
Kitchen walls often have grease buildup. Add a bit more dish soap to your cleaning solution.
For stubborn grease, apply undiluted dish soap directly to the stain. Let it sit for 5 minutes before wiping.
Crayon and Marker
Try a magic eraser first. It removes most crayon marks without chemicals.
For permanent marker, use a tiny amount of rubbing alcohol on a cloth. Test this first in a hidden area.
Fingerprints
Regular cleaning solution handles most fingerprints. For stubborn prints, use a slightly damp microfiber cloth.
Wipe in one direction rather than circular motions. This prevents smearing.
How Often Should You Clean Walls?
Cleaning frequency depends on your household and lifestyle.
High-traffic areas: Clean every 2-3 months. This includes hallways, kitchens, and kids’ rooms.
Low-traffic areas: Clean once or twice a year. Bedrooms and formal spaces need less attention.
Spot clean: Address spills and marks immediately. Fresh stains come off easier than old ones.
Common Mistakes to Avoid
These errors can damage your walls or make cleaning harder.
Using Too Much Water: Excess water can damage drywall and loosen paint. Always wring out your cloth well.
Scrubbing Too Hard: Aggressive scrubbing removes paint. Use gentle pressure and let the cleaning solution do the work.
Skipping the Rinse: Soap residue attracts dirt. Always rinse with clean water.
Cleaning in Direct Sunlight: Sun causes cleaning solution to dry too fast. This leaves streaks. Clean on cloudy days or when sun isn’t on that wall.
Using Abrasive Tools: Steel wool and rough brushes scratch paint. Stick with soft cloths and sponges.
When to Call a Professional
Most wall cleaning is easy DIY work. But some situations need professional help.
Consider hiring pros for:
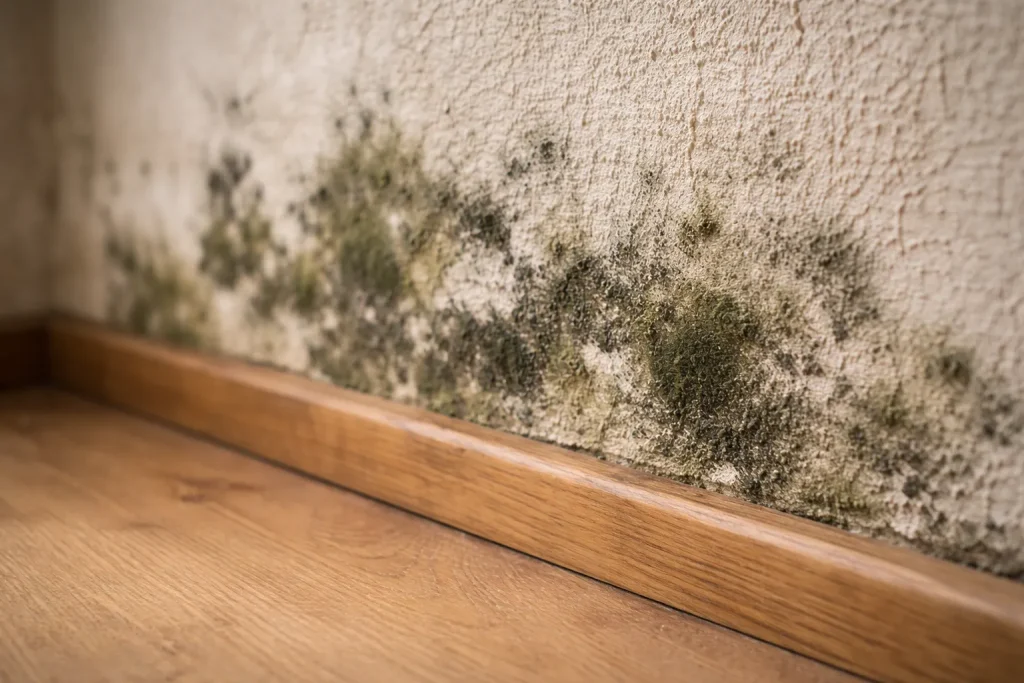
- Extensive mold or mildew
- Smoke damage from fires
- Very high ceilings
- Delicate antique wallpaper
- Large water stains
Maintaining Clean Walls
Prevention reduces how often you need to deep clean.
Dust regularly: Quick weekly dusting prevents buildup.
Address spills immediately: Fresh stains wipe away easily.
Use door mats: They reduce dirt tracked into your home.
Install kick plates: Protect walls near doorways from scuff marks.
Keep walls dry: Fix leaks promptly. Moisture leads to stains and mold.
Key Takeaways
Cleaning walls properly requires the right approach for your wall type. Start with dusting, then use a mild soap solution and work from top to bottom.
Always rinse soap off and dry the walls. Test cleaning methods in hidden areas first.
Regular maintenance keeps walls cleaner longer. Address stains quickly for easier removal.
With the right technique, you can keep your walls looking fresh for years. The process is simple when you follow these proven steps.


