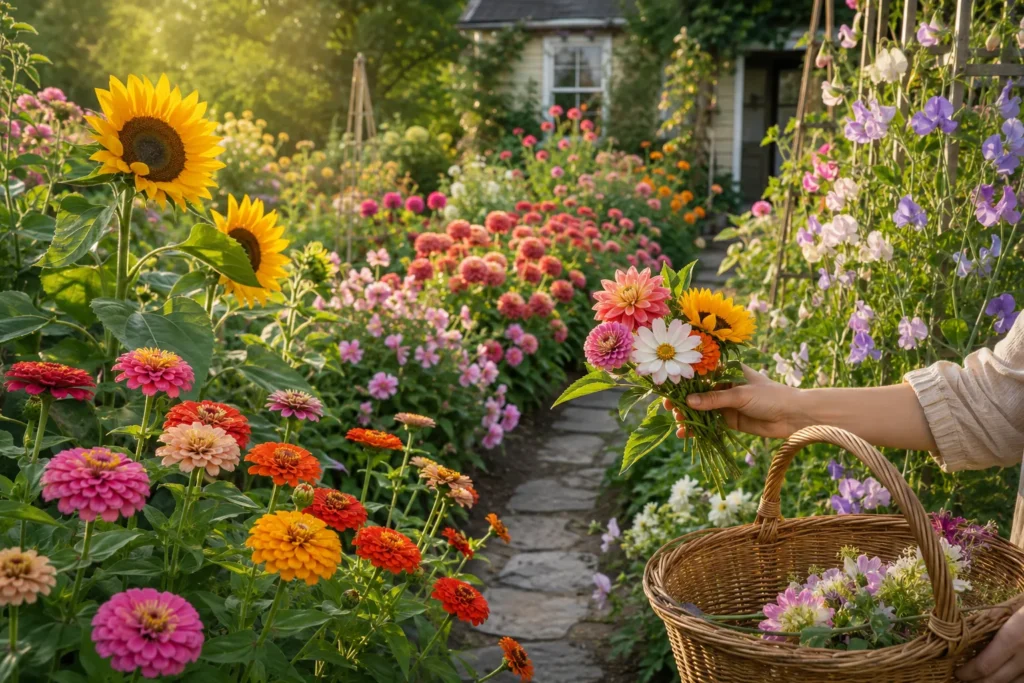
Tulips are one of the easiest ways to bring bold color into the garden after winter. Plant the bulbs in fall, give them well-drained soil, and they can reward you with bright spring flowers in shades of red, pink, yellow, purple, orange, white, and many mixed tones.
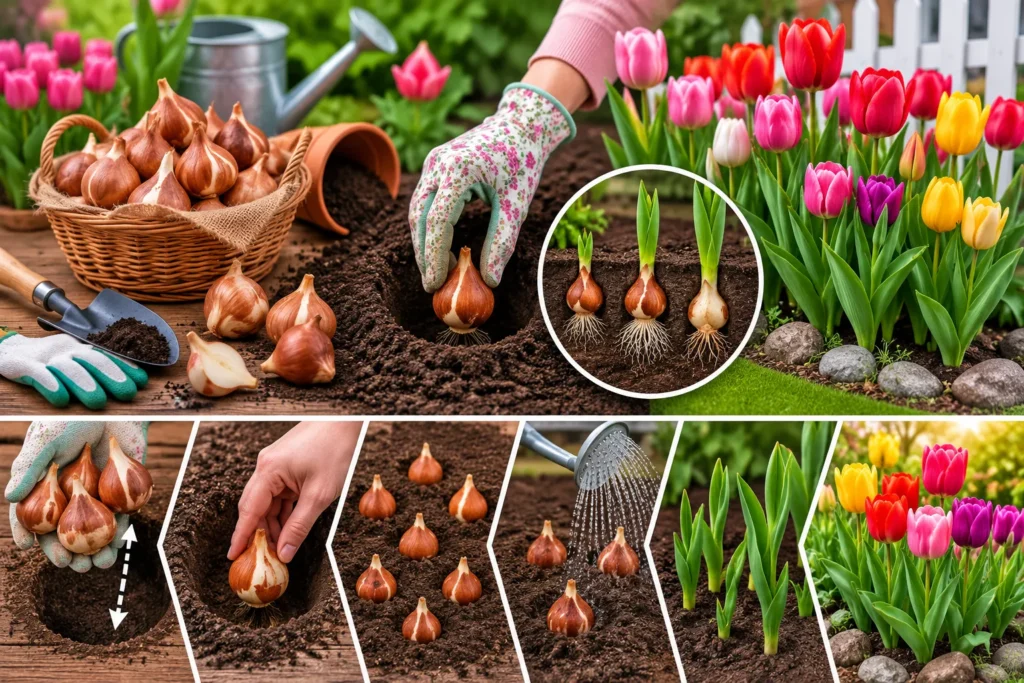
The basic method is simple. Choose healthy bulbs, plant them pointy side up, place them at the right depth, water them once, and let winter do the rest. Tulips need a cold period before they bloom, so timing matters more than many beginners realize.
This guide explains how to plant tulip bulbs step by step, including when to plant them, how deep to plant them, how far apart to space them, and how to care for them after flowering.
Quick Tulip Planting Checklist
Plant tulip bulbs in fall, after the soil cools but before the ground freezes. Choose a sunny or partly shaded spot with loose, well-drained soil. Plant each bulb with the pointed end facing up and the flat root end facing down.
As a general rule, plant tulip bulbs about two to three times as deep as the bulb is tall. For many standard tulip bulbs, this usually means around 6 to 8 inches deep. Space bulbs about 4 to 6 inches apart for a full display.
After planting, water the area well to settle the soil around the bulbs. Then avoid overwatering. Too much moisture can cause bulbs to rot before they have a chance to bloom.
When to Plant Tulip Bulbs
The best time to plant tulip bulbs is in fall. The soil should be cool, but it should not be frozen. In many cold and temperate regions, this means planting from mid to late fall.
A helpful rule is to plant tulips after the first light frost or when the soil has cooled, but before hard freezing weather arrives. This gives the bulbs time to grow roots before winter. Once winter comes, the bulbs stay dormant until spring warmth wakes them up.
Tulips need a cold period to bloom well. In colder climates, the garden naturally provides this chilling time. In warm climates, tulips may need pre-chilled bulbs because the soil may not stay cold long enough. If you garden in a warm region, check the bulb label or buy bulbs from a supplier that gives local planting advice.
Where to Plant Tulip Bulbs
Tulips grow best in a spot with good light and good drainage. Full sun is ideal in many gardens, but light afternoon shade can also work, especially in warmer areas. Avoid planting tulips in soggy soil, low spots where water collects, or beds that stay wet after rain.
Well-drained soil is very important. Tulip bulbs store energy inside the bulb, but they can rot if they sit in wet soil for too long. If your soil is heavy clay, improve the planting area with compost and consider planting in a raised bed. A raised bed can help extra water drain away from the bulbs.
Tulips look best when planted in groups instead of single straight lines. A cluster of 7, 9, or 11 bulbs often looks more natural than one bulb here and another bulb far away. For a bold spring display, plant several bulbs of the same variety together.
How to Choose Good Tulip Bulbs
Start with firm, healthy bulbs. A good tulip bulb should feel solid when you hold it. Avoid bulbs that are soft, mushy, badly shriveled, or covered with heavy mold.
A small amount of dry outer skin is normal. Tulip bulbs often have a papery covering, similar to an onion. That outer layer does not need to be perfect. What matters most is that the bulb itself feels firm and alive.
Larger bulbs often produce stronger stems and larger flowers because they contain more stored energy. If you want a bigger spring show, choose high-quality bulbs rather than the cheapest mixed bag you can find.
How Deep to Plant Tulip Bulbs
Planting depth is one of the most important parts of growing tulips. A common rule is to plant bulbs two to three times as deep as the bulb is tall. For many standard tulip bulbs, that means a hole about 6 to 8 inches deep.
Measure planting depth from the bottom of the bulb, not from the top. Place the bulb at the bottom of the hole with the pointed end facing upward. The flat or slightly rough side should face down because that is where the roots grow.
If your soil is sandy and drains quickly, you may plant slightly deeper. If your soil is heavy clay, you may plant a little shallower and improve drainage first. Always follow the instructions on the bulb package when they are available.
How Far Apart to Plant Tulip Bulbs
For garden beds, space tulip bulbs about 4 to 6 inches apart. This gives each bulb room to grow while still creating a full look in spring.
If you want a natural display, avoid placing bulbs in a perfect row. Instead, dig a wider planting area and arrange the bulbs in a loose group. Keep the pointed ends up and leave some space between the bulbs so they are not touching.
For containers, you can plant tulip bulbs closer together than you would in a garden bed. They should still not press tightly against each other. A close container planting creates a fuller pot of spring flowers, but the container must drain well.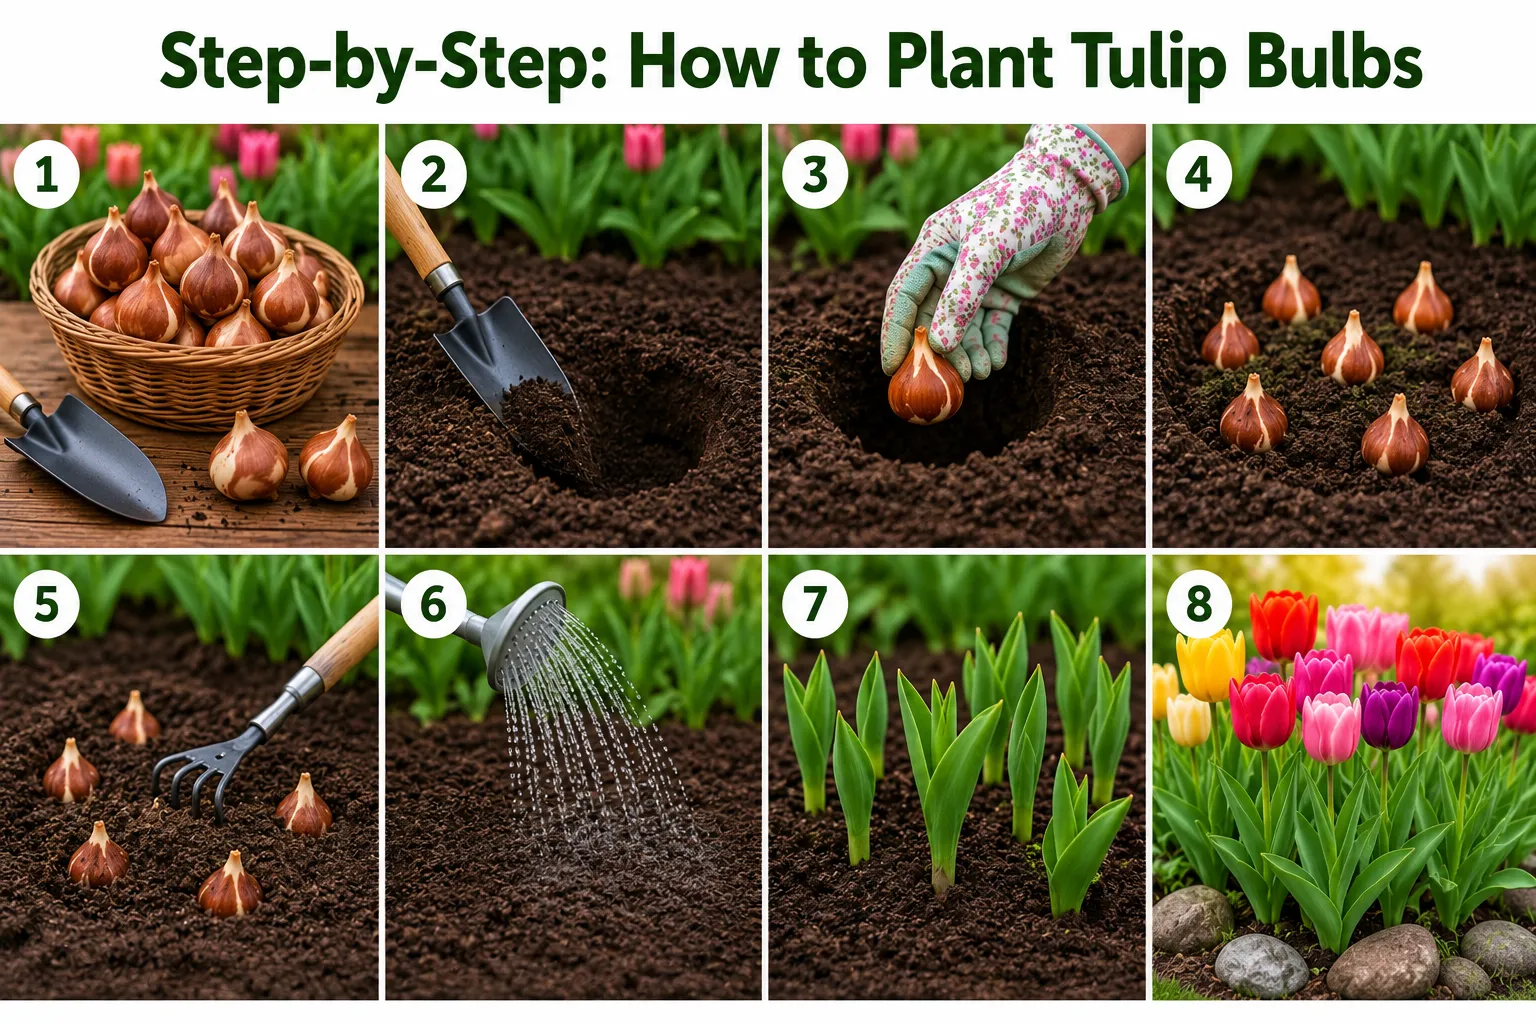
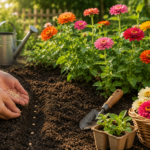
Step-by-Step: How to Plant Tulip Bulbs
1. Prepare the planting area
Clear away weeds, rocks, and old roots. Loosen the soil so the bulbs can root easily. If the soil is compacted or heavy, mix in compost to improve structure and drainage.
2. Dig the hole
Dig a hole deep enough for the size of your bulbs. For many tulips, 6 to 8 inches deep is a good target. You can plant bulbs one at a time, but digging a wider area is often better for groups.
3. Place bulbs pointy side up
Set each bulb in the soil with the pointed tip facing upward. The flatter root end should rest on the bottom. If a bulb falls sideways by mistake, it may still grow, but planting it correctly gives it the easiest path upward.
4. Space the bulbs
Place bulbs about 4 to 6 inches apart in beds. For a natural look, use clusters rather than straight rows. Odd-numbered groups often look softer and more garden-like.
5. Cover with soil
Gently cover the bulbs with soil and level the surface. Do not pack the soil down too hard. Lightly firming it is enough to remove large air pockets.
6. Water after planting
Water the planting area well after you cover the bulbs. This settles the soil and helps roots begin to grow. After that, natural fall and winter moisture is often enough unless the weather is very dry.
7. Add mulch if needed
A light layer of mulch can help protect the soil and reduce temperature swings. It can also make the bed look tidy through winter. Do not pile mulch too heavily over the planting area.
Planting Tulips in Pots
Tulips grow well in containers if the pot has drainage holes. This is not optional. A pot without drainage can hold too much water and cause the bulbs to rot.
Use a loose, well-draining potting mix. Plant the bulbs pointy side up and place them close together without letting them touch. Water once after planting, then keep the pot cool through winter.
In very cold areas, containers may need protection because bulbs in pots are more exposed to freezing than bulbs in the ground. An unheated garage, shed, or sheltered outdoor area can help protect the pot while still keeping it cold.
In spring, move the pot into brighter light when shoots begin to appear. Water when the soil starts to dry, but do not keep the pot soggy.
How to Care for Tulips After Planting
After fall planting, tulips need very little care. Water them once at planting time. After that, water only if the soil becomes very dry. Overwatering is one of the most common reasons tulip bulbs fail.
In spring, begin watering if the weather is dry and the plants are actively growing. Tulips do not usually need heavy feeding in average garden soil, but a balanced bulb fertilizer can be used according to the product label.
Once the flowers open, enjoy them in the garden or cut a few for a vase. If you cut tulips, leave as much foliage as possible so the bulb can continue storing energy.
What to Do After Tulips Bloom
After tulip flowers fade, remove the spent flower heads if you want the bulbs to save energy. Do not cut the green leaves right away. The leaves are still feeding the bulb for next year’s growth.
Wait until the foliage turns yellow and begins to die back naturally. Then you can remove it. Cutting leaves too early can weaken the bulb and reduce the chance of future blooms.
Many modern hybrid tulips are treated as annuals because they may bloom strongly the first spring but return with smaller flowers in later years. If you want tulips that are more likely to come back, look for species tulips, Darwin hybrids, or other varieties known for better perennial performance.
Common Mistakes to Avoid
The first mistake is planting too early. If bulbs go into warm soil, they may start growing at the wrong time. Wait until fall weather has cooled the soil.
The second mistake is planting in wet soil. Tulips dislike soggy conditions, especially while dormant. Improve drainage before planting, or use containers and raised beds.
The third mistake is planting too shallow or too deep without considering the bulb size. Use the two-to-three-times-depth rule and check the package instructions.
The fourth mistake is watering too much. Water once after planting, then let rain and normal soil moisture do most of the work.
The fifth mistake is cutting the leaves too soon after flowering. Let the foliage yellow naturally so the bulb has time to store energy.
How to Protect Tulip Bulbs from Squirrels
Squirrels, chipmunks, and other animals sometimes dig up tulip bulbs after planting. To reduce damage, cover the planted area with chicken wire and secure it with landscape staples. Add mulch over the wire so it is hidden. The tulip shoots can grow through the openings in spring.
You can also plant tulips among bulbs that animals usually avoid, such as daffodils. This may not stop every problem, but it can make the bed less attractive to pests.
Final Thoughts
Planting tulip bulbs is simple when you follow the basics. Plant them in fall, choose a sunny or partly shaded spot, use well-drained soil, place the bulbs pointy side up, and water once after planting.
For the best spring display, plant tulips in groups and give them enough space to grow. Avoid soggy soil, do not overwater, and let the leaves die back naturally after flowering.
With a little planning in fall, tulip bulbs can turn a quiet spring garden into a bright, colorful display.


