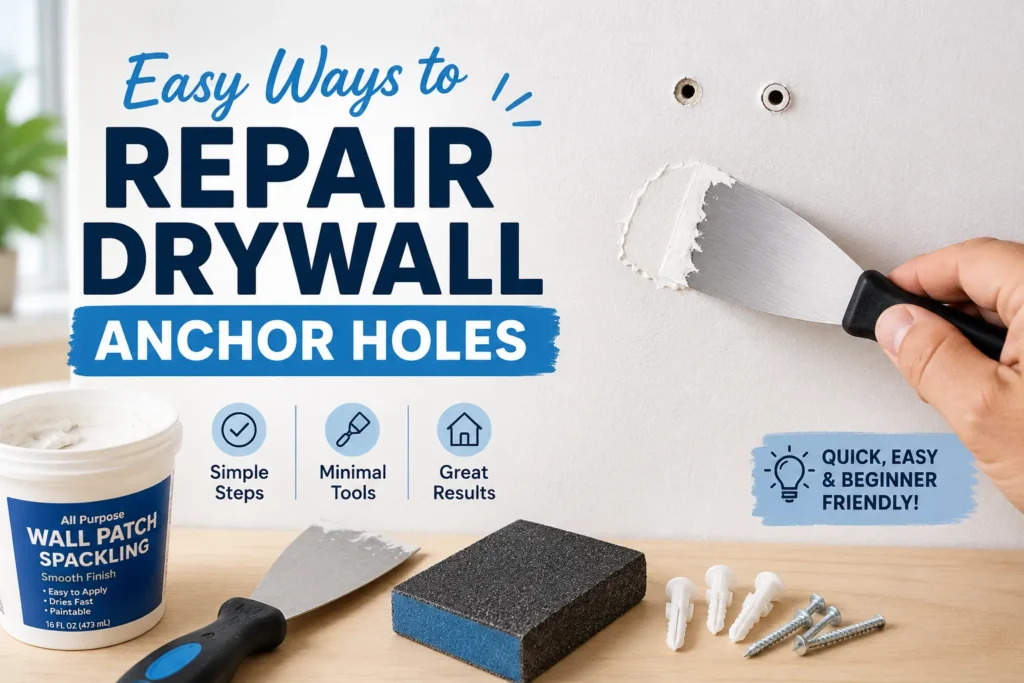
Drywall anchor holes look small at first, but they can make a wall look old, messy, and unfinished. Maybe you removed a shelf, a curtain bracket, a picture frame, or a towel holder. The screw came out, but the anchor left a little crater behind. Sometimes the plastic anchor is still stuck in the wall. Sometimes the wall paper around the hole is torn. The good news is that most drywall anchor holes can be repaired at home with simple tools like spackle, a putty knife, sandpaper, primer, and matching paint. Big home improvement guides also treat small drywall holes as a repair that many homeowners can do themselves with compound, sanding, and paint.
Why Drywall Anchor Holes Need a Little Care
A drywall anchor is used when you want to hang something on drywall but there is no wood stud behind that exact spot. The anchor spreads the load inside the wall so the screw has something to grip. This is useful for many light and medium wall items, but anchors can fail if the item is too heavy, the hole is too large, the screw does not match the anchor, or the drywall is weak. That is why an old anchor hole may look rough after removal. It is not always just a clean dot like a nail hole.
Think of drywall like a thick paper-covered board. When an anchor expands inside it, it presses against the wall. When you pull it out, the paper face can tear or the gypsum core can crumble. If you simply paint over that hole, the mark will still show. If you fill it too fast and do not smooth it, the wall may have a bump. A clean repair means removing or recessing the anchor, cutting away loose edges, filling the hole in thin layers, sanding it flat, then priming and painting. Sherwin-Williams also recommends cutting away loose drywall face paper, sanding rough edges, wiping the area clean, and then using spackle or joint compound for small wall repairs.
First, Remove the Old Anchor Safely
Before filling the hole, check if the anchor is still inside the wall. If it is a simple plastic expansion anchor, you may be able to back the screw out a little, grip the screw with pliers, and gently pull the anchor out. For threaded drywall anchors, you can often turn the anchor counterclockwise with a screwdriver until it comes out. For toggle-style anchors, parts may fall behind the wall after the bolt is removed. Bob Vila explains that different anchor types need different removal methods, and if the anchor resists, it may be better to push it slightly into the wall instead of ripping the drywall face.
Lowe’s also notes that drywall anchors can be difficult to remove, and the goal is to get them out while reducing wall damage. That matters because one hard pull can turn a small repair into a larger patch job. If the anchor will not come out cleanly, do not fight it for too long. Remove any screw, gently tap the anchor just below the wall surface, and then cover it with patching compound. This leaves a shallow dent instead of a torn hole.
Clean the Hole Before Filling
Once the anchor is out or pushed below the surface, look closely at the hole. If there are loose paper flaps, crumbly drywall dust, or raised edges, clean them first. A utility knife can cut away loose paper. A sanding sponge can flatten raised spots. A slightly damp cloth can remove dust, but the area should not be soaking wet before patching. This small cleaning step helps the spackle or compound stick better and keeps the final repair smoother. Sherwin-Williams recommends removing loose drywall paper, lightly sanding rough edges, and wiping with a damp cloth before patching small gouges and holes.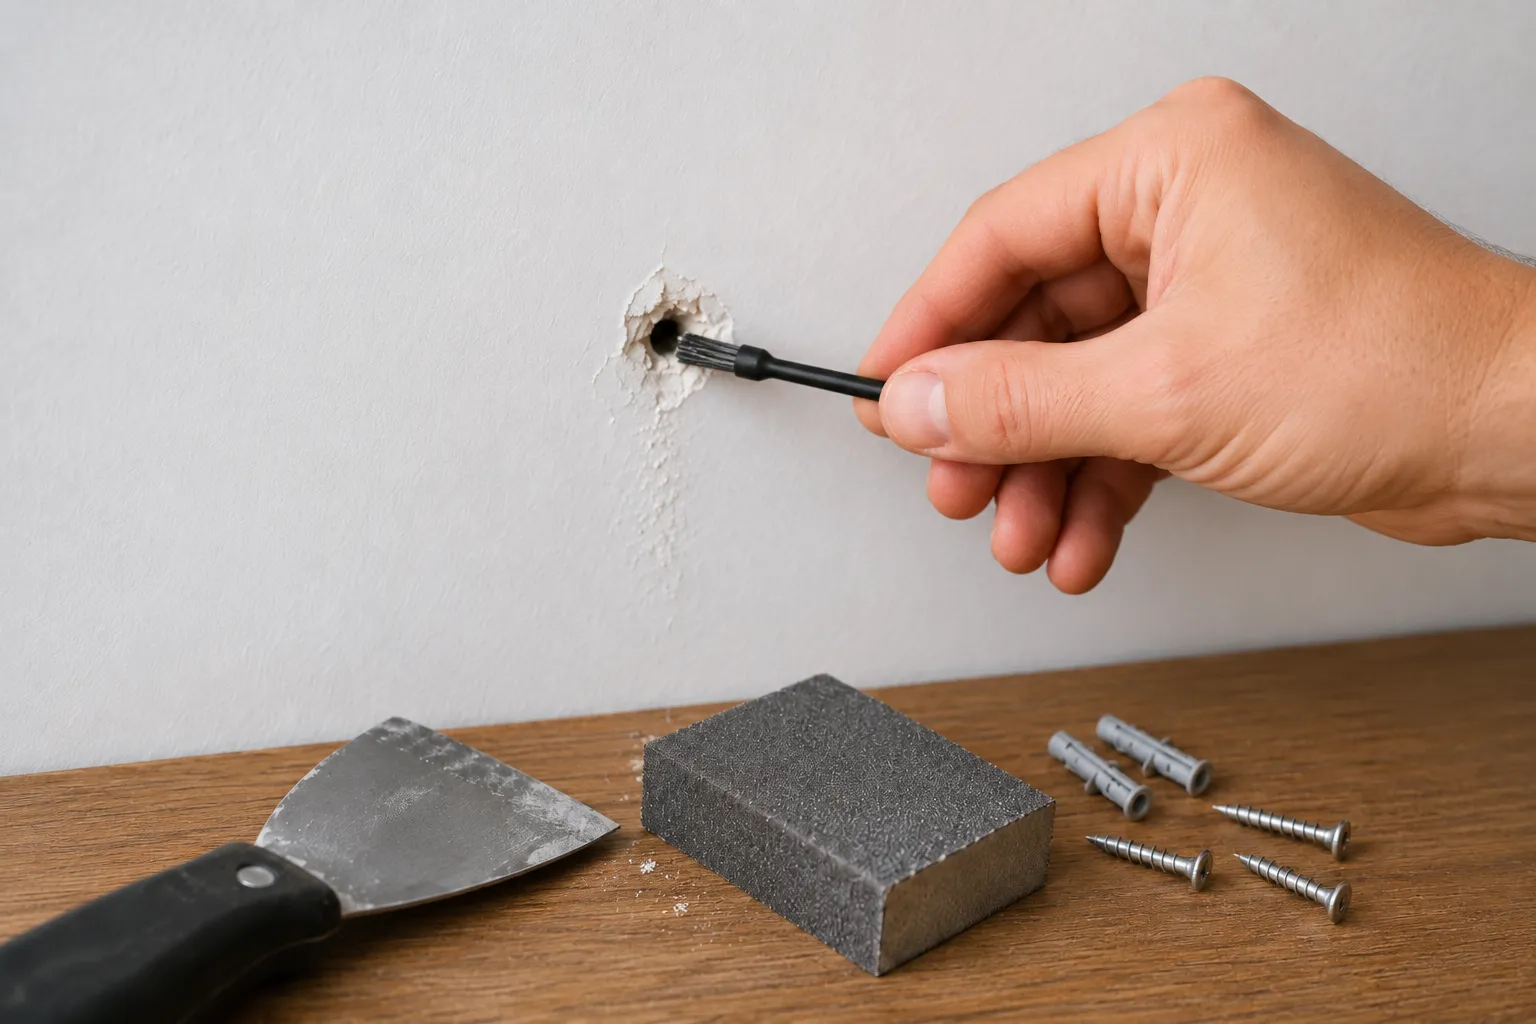
This is the part many people skip. Imagine putting a sticker on a dusty table. It will not hold well. Wall patching works in a similar way. If dust and broken paper stay inside the hole, the filler may not sit neatly. A two-minute cleanup can save you from seeing a little ring around the patch after painting.
Choose Spackle or Joint Compound
For most small drywall anchor holes, spackle is the easiest choice. DAP explains that spackling compound dries faster than joint compound and shrinks less, which makes it useful for small to medium holes and dents in drywall or plaster. Joint compound, also called drywall mud, is better when you are working on larger areas, taped seams, or wider wall repairs because it gives more working time.
If the hole is just the size of a normal plastic anchor, spackle is usually enough. If the hole is wider, torn, or larger than about half an inch, a patch kit or mesh patch may give the repair more strength. 3M lists small hole repair products for hole repairs up to 3 inches in diameter, and Sherwin-Williams describes pushing spackling or patching compound through and around mesh for wall repairs.
Fill the Drywall Anchor Hole
Use a flexible putty knife and press the spackle into the hole, not just over the top. The filler needs to go into the empty space so it can support the surface. Hold the knife at a slight angle and scrape away extra material while it is still wet. The patch should be a little wider than the hole, but not a thick mountain on the wall. Sherwin-Williams gives the same basic method for wall holes: push compound into the hole with a flexible putty knife, remove extra compound while wet, let it dry, then smooth it with fine-grit sandpaper or a sanding sponge.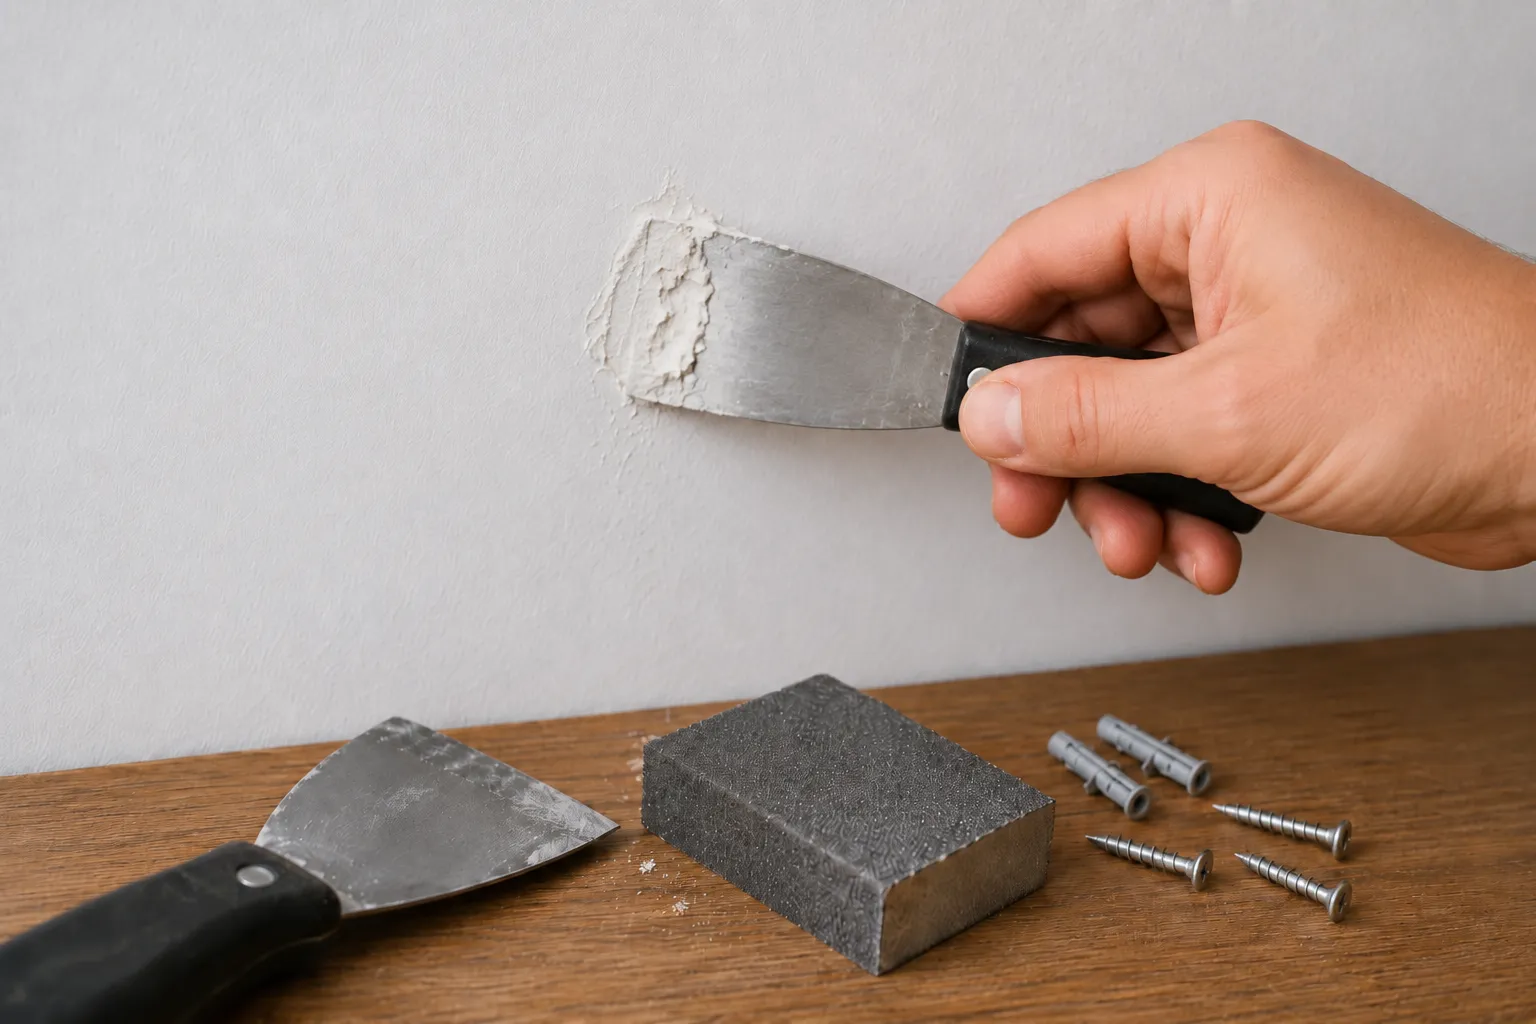
If the first coat sinks a little after drying, do not panic. That can happen when the hole is deeper. Add a second thin coat instead of one heavy coat. Thin coats are easier to dry, sand, and blend. USG’s drywall compound guidance also supports the idea of letting coats dry and feathering later coats beyond earlier coats to create a smooth surface.
Use a Mesh Patch for Bigger Anchor Damage
Sometimes an anchor hole is not small anymore. A shelf may have pulled out and left a ragged opening. A towel bar may have ripped the drywall paper. In this case, filling only the middle may not be enough. A self-adhesive mesh patch can bridge the damaged area, and then compound can be spread over it. Lowe’s explains that drywall damage can range from small dents to larger holes, and different hole sizes need different repair methods.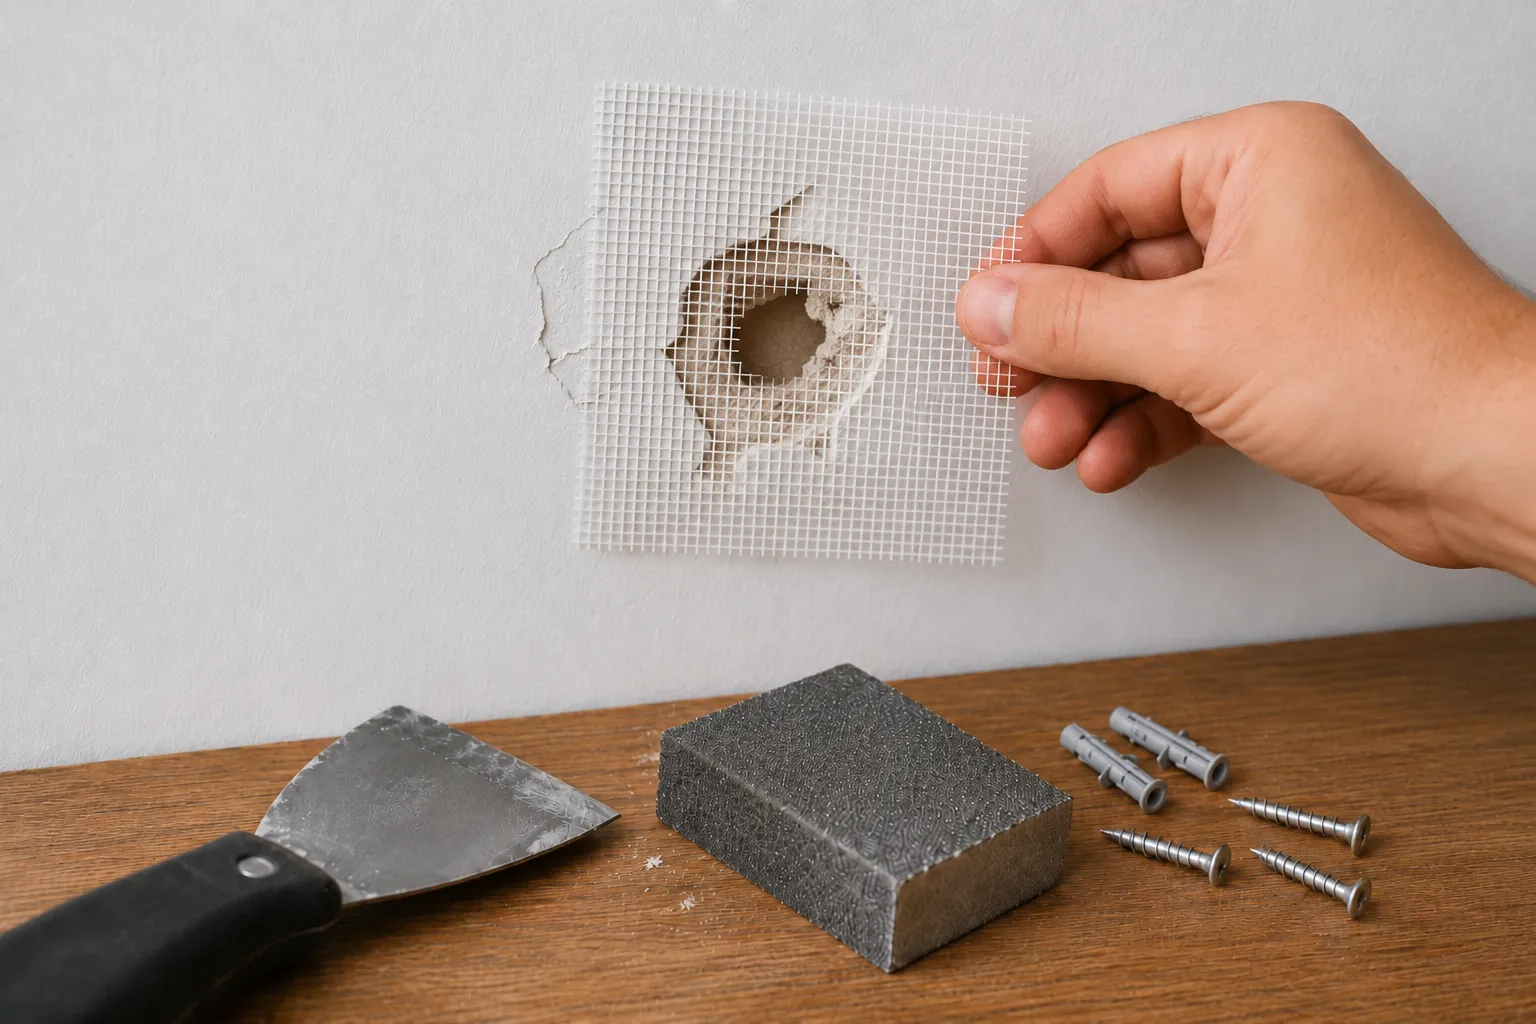
Place the mesh patch over the damaged spot, press it flat, then cover it with patching compound. Spread the compound beyond the patch edges so the repair blends into the wall. This is called feathering. Feathering means the compound is thicker near the damaged area and thinner as it spreads outward. That gentle slope helps the patch disappear after sanding and painting. USG’s guidance for joint compound finishing also refers to applying coats beyond earlier coats and sanding lightly after drying to smooth the surface.
Let the Patch Dry Fully
Drying time depends on the product, the depth of the hole, the room temperature, and humidity. DAP says some fast-dry spackling can dry in one to five hours depending on temperature, humidity, and patch depth. Sherwin-Williams also notes that some wall patching compound may be allowed to dry overnight before sanding.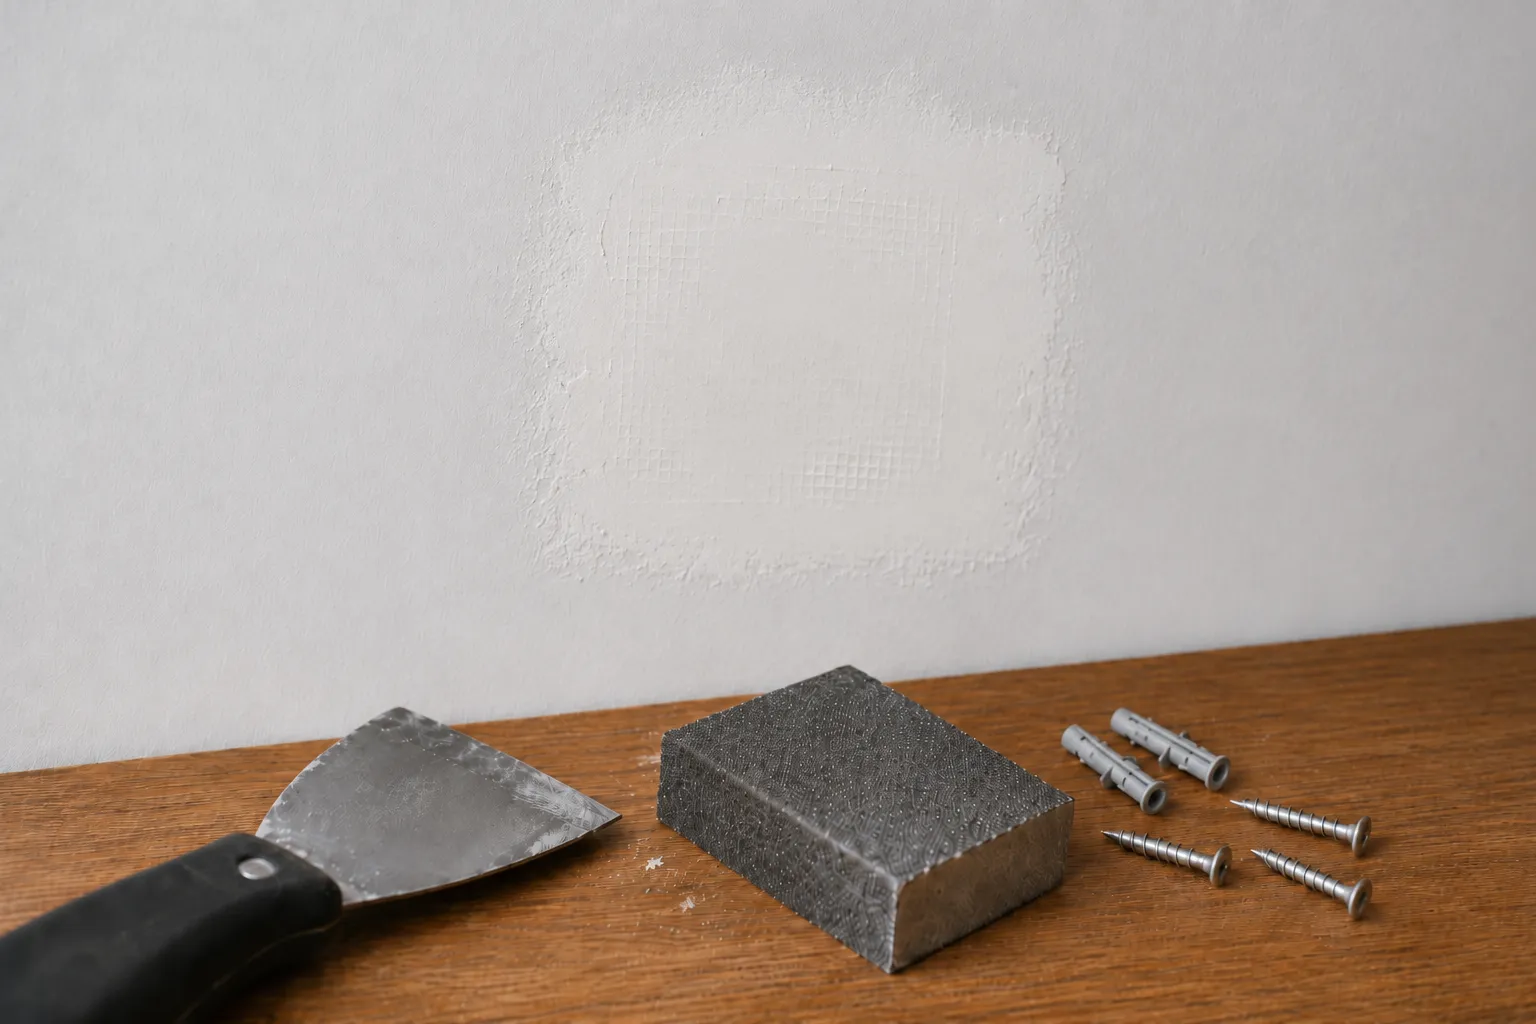
This is where patience helps. If you sand too early, the patch can smear or pull out of the hole. If you paint too early, the spot may flash, which means it can look dull, shiny, or different from the rest of the wall. Some color-changing repair products help by changing color when dry. 3M says its color-changing wall repair goes on blue and dries white, helping users know when the repaired surface is ready to sand and paint.
Sand the Patch Smooth
After the filler is dry, sand gently. The goal is not to dig into the wall. The goal is to make the patch level with the surface around it. Use a sanding sponge or fine-grit sandpaper, and move lightly over the patch. If you feel a ridge with your fingers, keep smoothing carefully. If you sand too much and open the hole again, add another thin coat, let it dry, and sand again. Sherwin-Williams recommends fine-grit sandpaper or a sanding sponge after compound dries.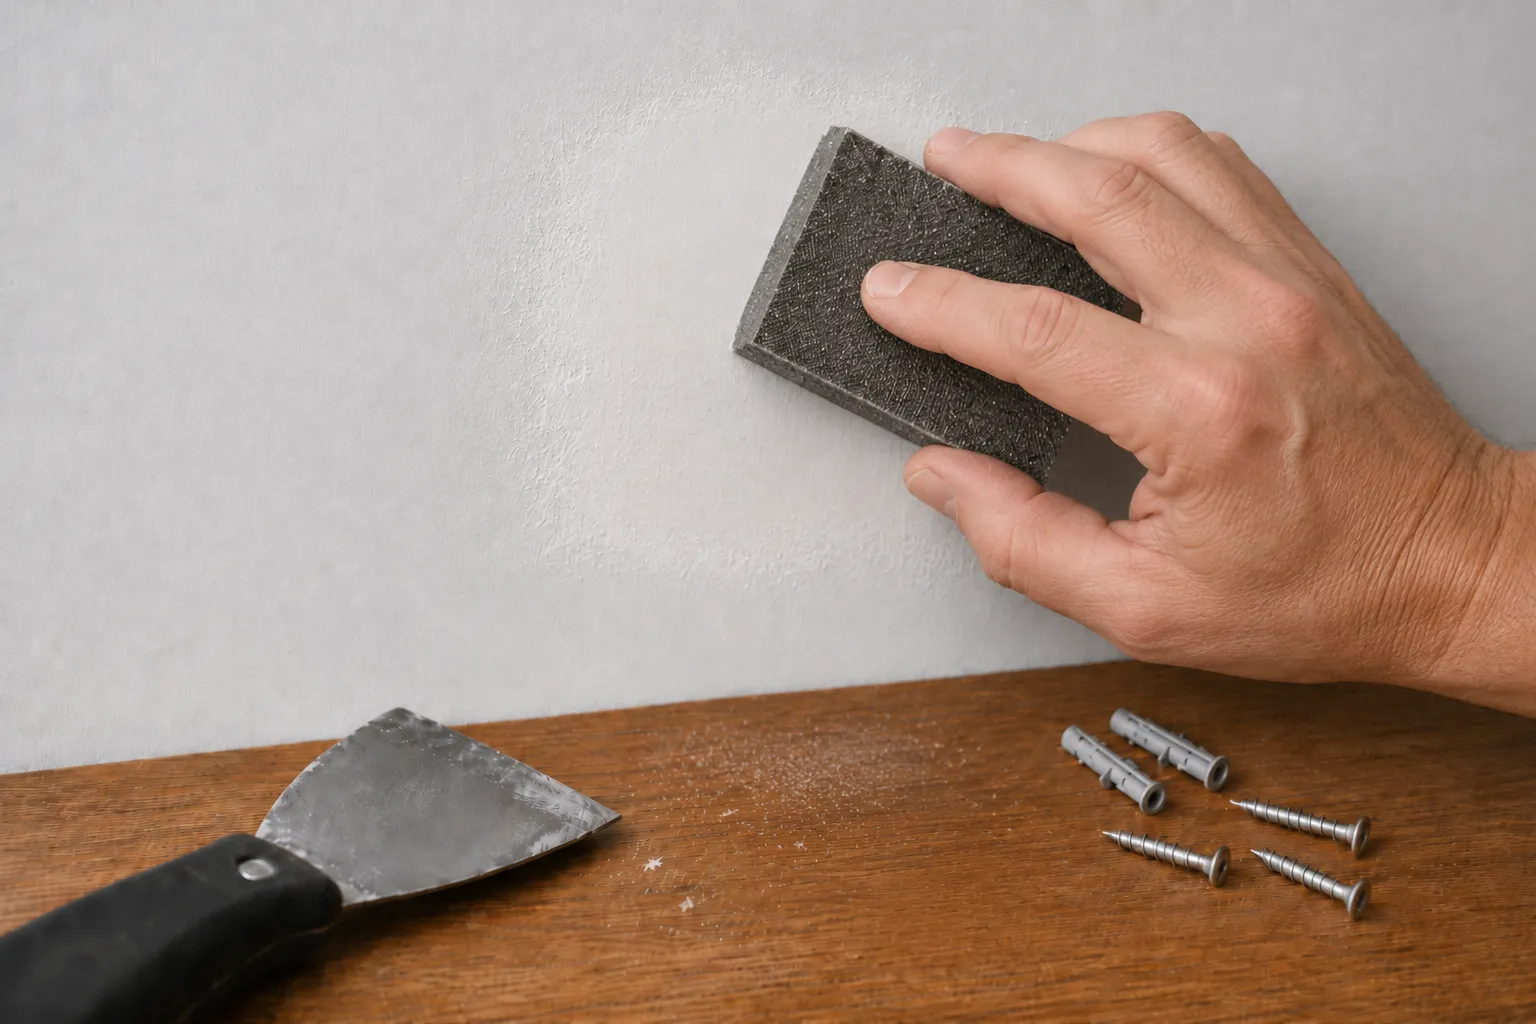
A simple trick is to look at the wall from the side with room light or a small lamp. Bumps and lines show more clearly from an angle. If the wall feels smooth and the patch edge disappears under your hand, it is ready for primer.
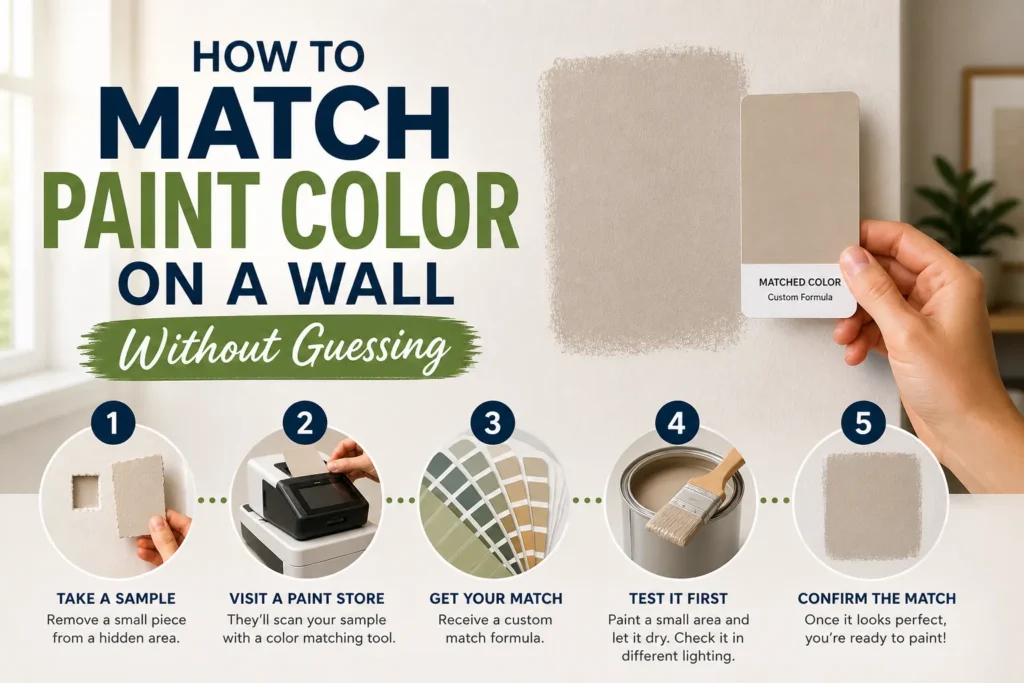
Prime Before Painting
Primer helps the repaired spot accept paint more evenly. Some repair products include primer-enhanced spackle or claim no separate primer is needed, but ordinary spackle or joint compound usually looks better when primed before painting. 3M describes primer-enhanced spackling compounds designed to resist paint flashing, while USG’s guidance for setting-type drywall compounds recommends applying a good quality primer after the final coat dries before painting.
For a small anchor hole, you do not need to prime the whole room. A small brush can cover just the patch and a little area around it. Let the primer dry according to the product label. Then apply matching wall paint. If the wall paint is old, the touched-up spot may still look slightly different because paint color can fade over time. In that case, painting from corner to corner on that wall gives a cleaner result than only dabbing one tiny spot.
Can You Put a New Anchor in the Same Spot?
It is better not to put a new drywall anchor into the exact same repaired hole if the old anchor failed or tore the drywall. The repaired area may look smooth, but it may not have the same holding strength as untouched drywall. The Spruce explains that anchors can pull out when the item is too heavy, the hole is too large, the screw is the wrong size, or the wall material is weak. For heavy items, it is safer to mount into a wood stud instead of relying only on drywall.
If you need to hang something again, move slightly to a stronger nearby area or find a stud. For shelves, towel bars, mirrors, and heavy frames, the strongest choice is usually a screw into a stud. If a stud is not available, use the correct anchor type and follow the weight limit on the anchor package.
Final Thoughts
Learning how to repair drywall anchor holes is mostly about slowing down and doing the small steps in the right order. Remove or recess the old anchor. Clean loose paper and dust. Fill the hole with spackle or joint compound. Use a mesh patch if the damage is wider. Let it dry. Sand it smooth. Prime it. Paint it. That simple process can turn a wall full of old anchor marks into a clean wall again. Home Depot, Lowe’s, DAP, 3M, Sherwin-Williams, and USG all support the same basic repair idea: proper filling, drying, sanding, and finishing are what make a drywall repair blend into the wall instead of standing out.


